Oreo No-Bake Cheesecake Cups
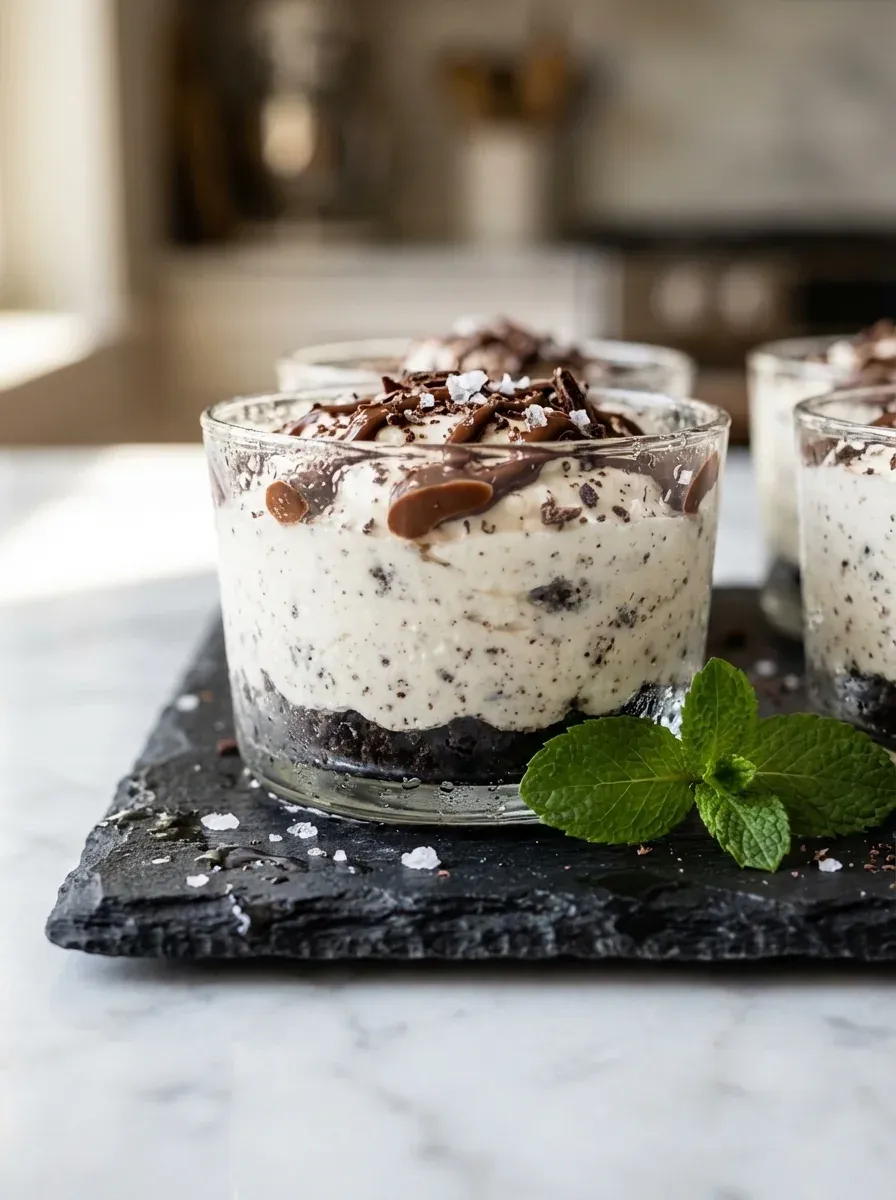
Quick, no‑bake Oreo cheesecake cups that are rich, creamy, and delightfully crunchy.
- Total time
- 15 min
- Servings
- 8 Servings
- Difficulty:
- Easy
Table of contents
If you’re looking for a dessert that whispers of chocolate and cream, these Oreo No‑Bake Cheesecake Cups are just the thing. I love how the Oreo crumbs form a buttery base, then the silky cream cheese filling settles on top. For a variation, check out no‑bake Oreo cheesecake bites for a slightly larger version.
The essence of the dish
A buttery Oreo crumb base supporting a silky cream cheese filling, finished with an optional chocolate glaze. The contrast of textures is the star.
A fun fact or historical angle
The Oreo’s original design was inspired by the chocolate wafer cookies of England, making it a transatlantic favorite.
Flavor or sensory focus
First, the scent of toasted butter and chocolate, then the cool, smooth cream cheese that melts gently on the tongue.
You Must Know
- Use chilled serving cups for a crisp edge
- Do not over‑mix the filling; air pockets can form
- Store in the refrigerator, not the freezer
Well, these little details keep the cups looking professional and tasting just right. A quick glance at the fridge will remind you that the dessert is best enjoyed cold, allowing the flavors to stay balanced. The glossy ganache adds a final visual cue that this is a treat worth savoring.
The story behind it
When the Oreo cookie was introduced in 1912, it quickly became a beloved staple across America. Its creamy filling and chocolate wafer have inspired countless desserts, from truffles to tiramisu. The no‑bake cheesecake cup takes that classic cookie and pairs it with the richness of cream cheese, creating a dessert that feels both nostalgic and fresh.
Why You'll Love It
- No oven needed, saving energy and time
- Creamy texture contrasted with crunchy Oreo base
- Easy to portion for parties or quiet evenings
- Can be made ahead and stored chilled
Tips for success
- Don’t over‑mix the cream cheese; it can become grainy.
- Use chilled cups to keep the crust from softening.
- Let the ganache cool slightly before drizzling to avoid melting the filling.
- Softened Cream Cheese, Leave it out for at least an hour to ensure a smooth filling.
- Gentle Folding, Don't overmix the whipped cream into the cheese or you'll lose the fluffiness.
- Patient Chilling, Give it at least 4 hours so the structure holds when you eat it.
Professional secrets
- Room‑temperature cream cheese blends without lumps.
- Melted butter should be just warm, not hot, to keep crumbs dry.
- A brief chill after adding ganache sets the glaze beautifully.
Common mistakes to avoid
- Skipping the chill time, resulting in a runny filling.
- Over‑mixing the cream cheese, causing a grainy texture.
- Pressing the crust too loosely, leading to cracks.
Substitutions
- Heavy cream:* Greek yogurt. Provides tang and thickness without extra fat.
- Oreo cookies:* Chocolate wafer cookies with cocoa powder. Maintains the chocolate flavor while being gluten‑free if needed.
Variations
- Spicy Version:* Add a pinch of cayenne and drizzle with dark chocolate for a subtle heat.
- Mediterranean Style:* Swap chocolate ganache for a honey‑yogurt drizzle and sprinkle crumbled pistachios.
- Mint Oreo Cheesecake Cups:* Add ½ teaspoon of peppermint extract to the cheesecake filling for a refreshing minty twist that tastes like a thin mint.
- Chocolate Drizzle Oreo Cheesecake Cups:* Drizzle melted dark chocolate over the tops of the cheesecake cups before chilling for an extra layer of chocolate indulgence.
Storage
Cover the cups with plastic wrap and store in the fridge for up to three days.
Make ahead
Prepare the crust and filling a day ahead; keep them separate and assemble just before chilling for best texture.
Leftovers
Refrigerate leftovers; they stay creamy for up to three days. Enjoy a quick snack without reheating.
Serving ideas
- Serve on a decorative platter with fresh berries.
- Garnish each cup with a tiny Oreo half on top.
- Pair with a dollop of whipped cream for extra richness.
Allergy information
Contains dairy, gluten, and soy (from cookies).
Oreo No-Bake Cheesecake Cups
Quick, no‑bake Oreo cheesecake cups that are rich, creamy, and delightfully crunchy.
- Prep time
- 15 min
- Total time
- 15 min
- Difficulty
- Easy
- Cuisine
- American
- Course
- Dessert
Ingredients
Base
Filling
Topping (optional)
Instructions
- 1
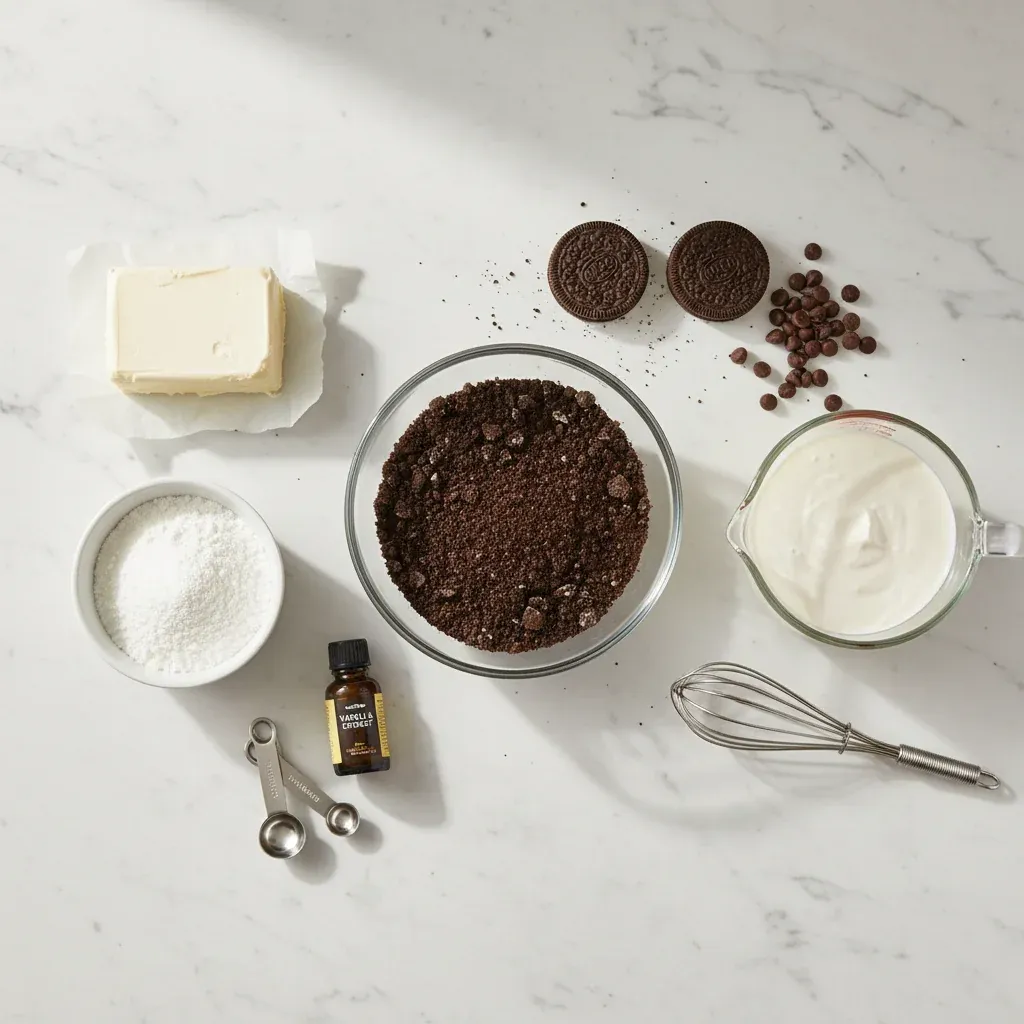
Place the Oreo cookies in a food processor or zip‑bag and crush until fine; add the melted butter and pulse until the mixture resembles wet sand.
- 2
Press about 1‑2 tbsp of the crumb mixture into the bottom and up the sides of each serving cup, creating a firm crust.
- 3
In a mixing bowl, beat the softened cream cheese, sugar, and vanilla until smooth; if using, drizzle in the heavy cream for extra fluff.
- 4
Spoon or pipe the cream cheese mixture into each crust, smoothing the tops with the back of a spoon.
- 5
Refrigerate the cups for at least 2 hours. Before serving, drizzle with chocolate ganache and sprinkle a pinch of sea salt if desired.
Nutrition per serving
- 210 kcal
- Calories
- 3 g
- Protein
- 22 g
- Carbs
- 12 g
- Fat
Tips & notes
- For a firmer crust, press the crumbs firmly with the back of a spoon. - If the filling seems too thick, whisk in an extra tablespoon of cream. - Garnish with a tiny Oreo half for a decorative finish.
Frequently asked questions
Can I use gluten‑free Oreo cookies?
Yes, substitute with a gluten‑free chocolate wafer cookie; the flavor remains similar.
How long can the cups be stored?
Keep them sealed in the fridge for up to 3 days; the texture stays pleasant.
Can I add fruit to the filling?
A small swirl of raspberry puree works well; add after mixing the cream cheese.
Do I need an ice‑cream maker?
No, this is a no‑bake recipe; chilling in the fridge sets the cheesecake.
What size cups should I use?
Standard 4‑oz ramekins give a perfect single‑serve portion.
Can I make this vegan?
Swap cream cheese for a vegan cream cheese and use coconut oil instead of butter.
Tags:
Share:
Join our newsletter
New posts straight to your inbox. No spam, unsubscribe anytime.