No Bake Cheesecake Parfait With Cherry Pie Filling
A dreamy, layered dessert that requires zero oven time. Tart cherries and silky cream cheese create a perfect balance. Ready in just ten minutes of active work.
- Total time
- 10 min
- Servings
- 4 Servings
- Difficulty:
- Easy
Table of contents
Well, look, there are some days where the kitchen just feels too hot for the oven, you know? That is usually when I find myself craving something cool and creamy. I remember when I first started making these little treats for the girls; they loved watching me spoon in the layers, and honestly, I think I loved the quiet of the process even more.
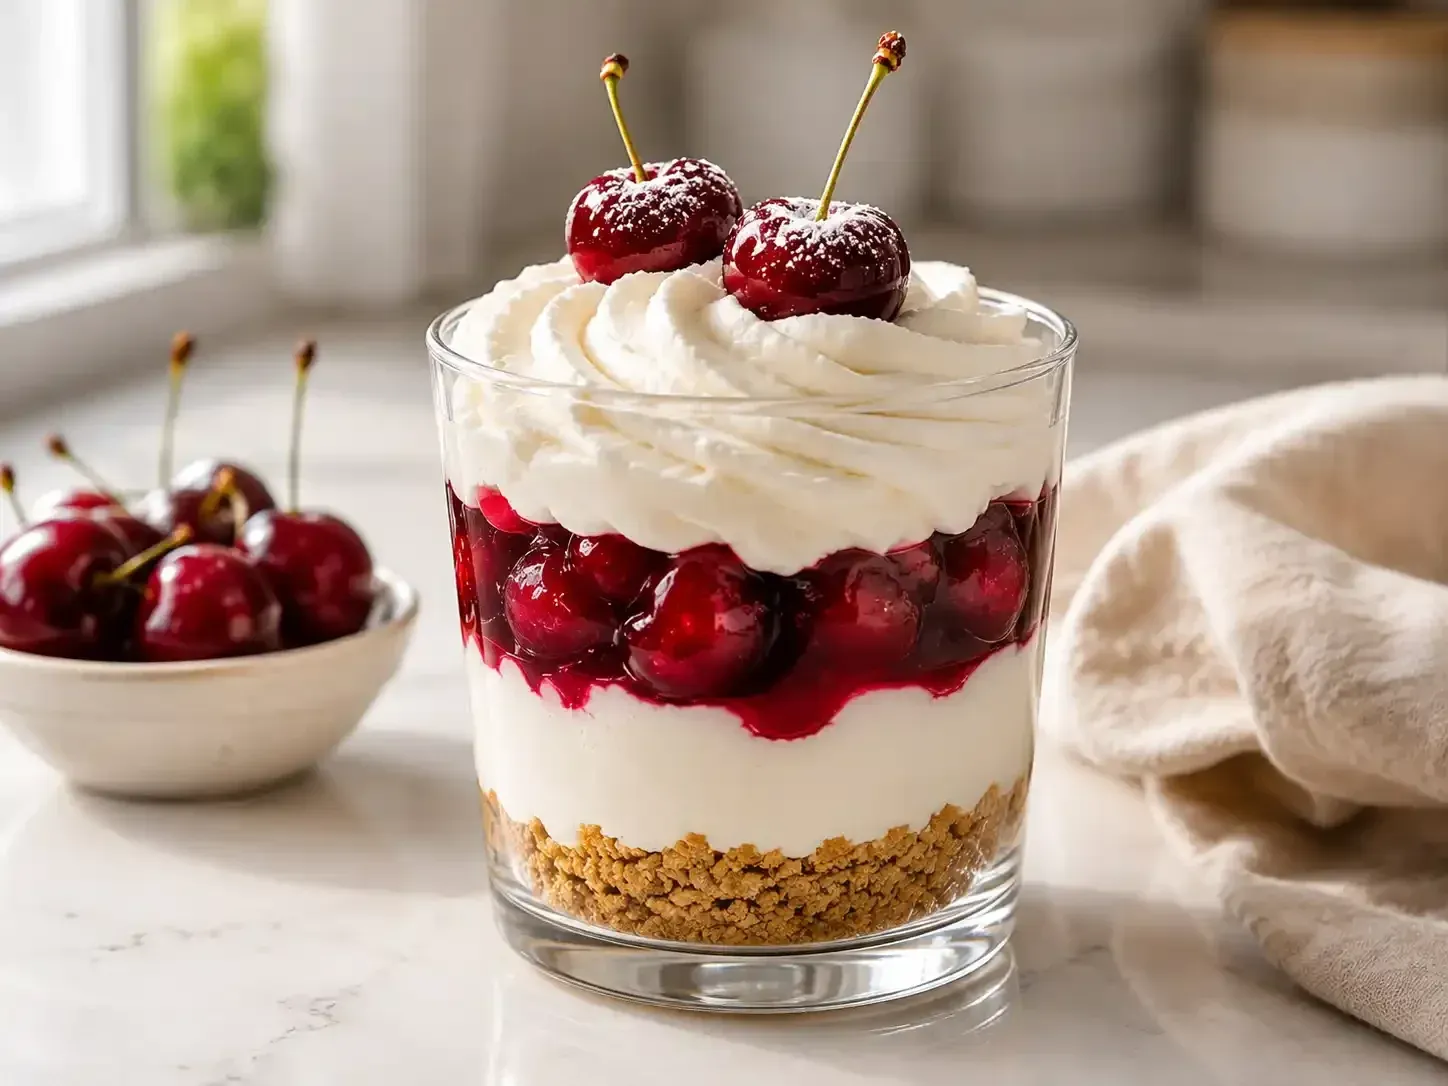
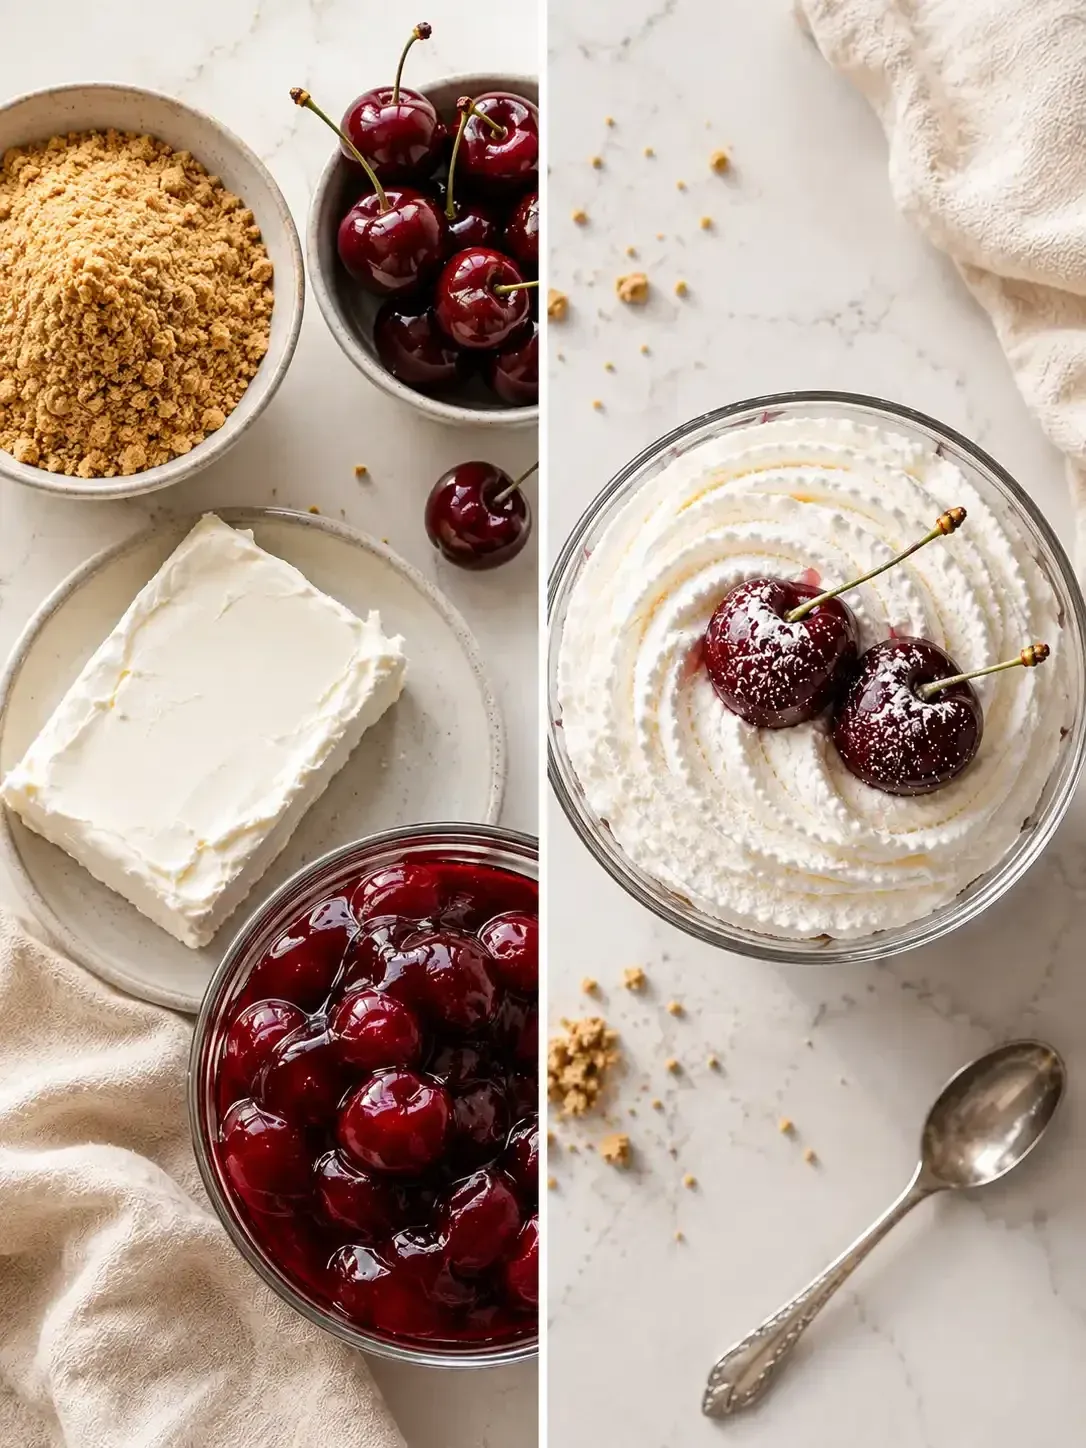
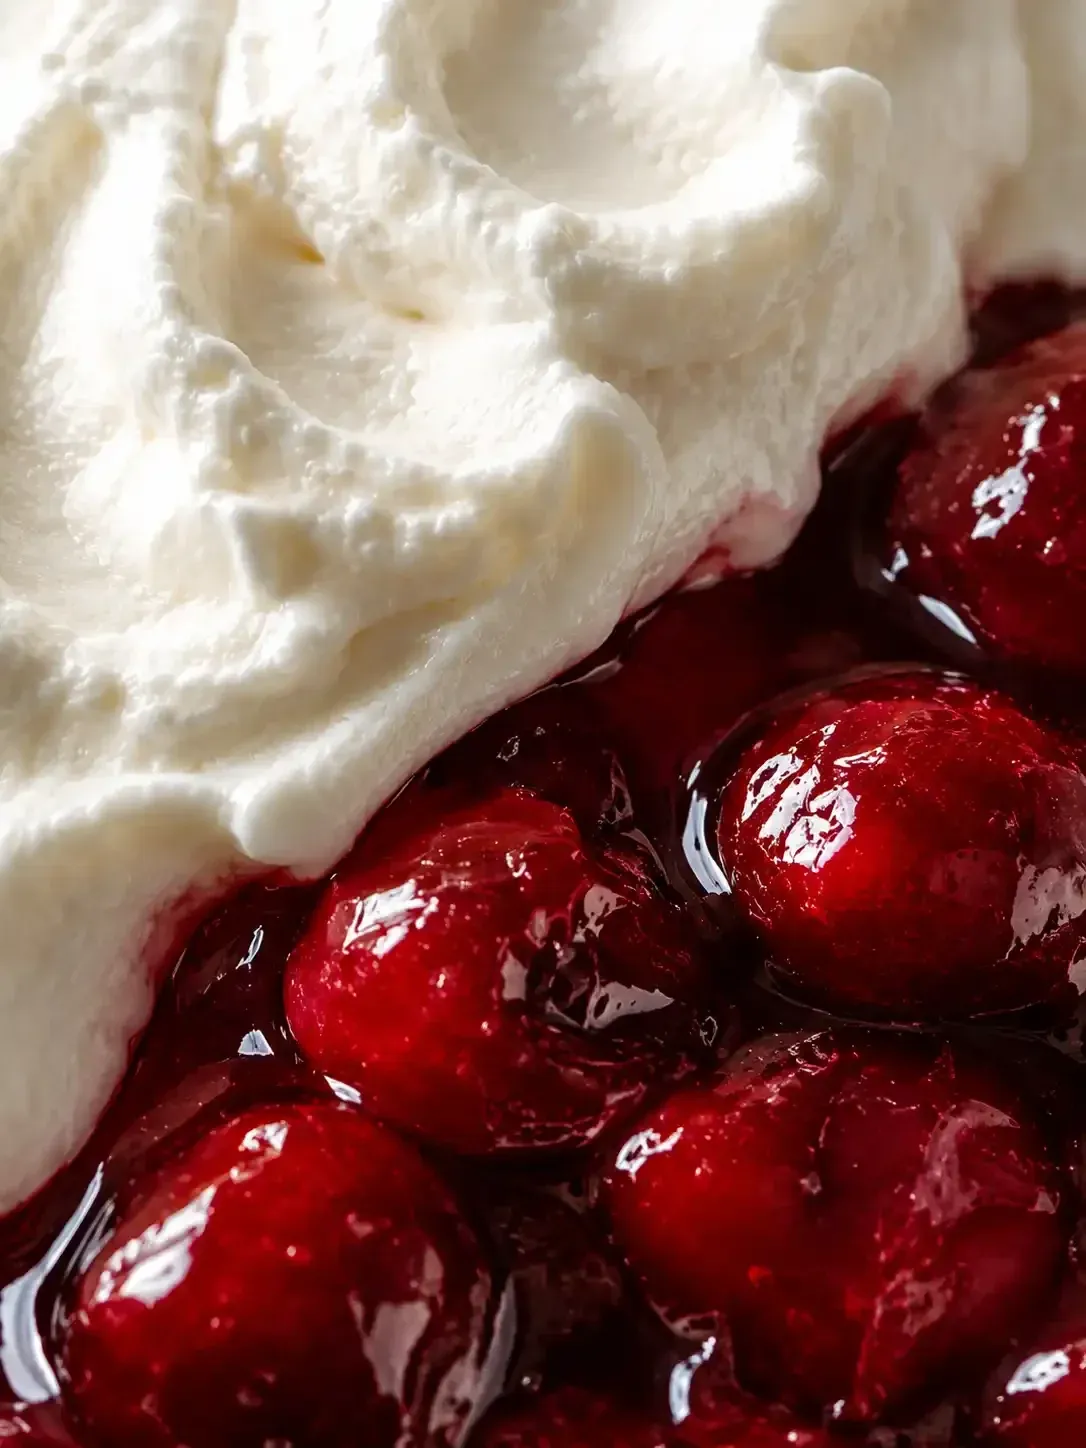
There is something so soothing about mixing 8 oz (225 g) cream cheese, softened and smooth, with a bit of 1/2 cup (60 g) powdered sugar and a splash of 1 Tbsp fresh lemon juice. It smells bright and clean, like a fresh start. And then, adding that 1 cup (250 g) cherry pie filling... wow, that deep red color against the white mousse is just lovely.
So, if you need a win today, this no bake cheesecake parfait with cherry pie filling is it. It is not fancy, not complicated, just a simple, sweet moment of peace in a glass. Yeah, it is really that easy.
The story behind it
The concept of the parfait, originating from the French word for "perfect," was traditionally a frozen custard. Over time, the style evolved into the layered desserts we recognize today, blending the sophistication of European creams with the hearty, fruit-forward traditions of American pies. The marriage of cheesecake and cherry is a timeless pairing, echoing the classic cherry cheesecake that has graced diner menus for decades.
In many households, the shift toward no-bake versions emerged as a way to bring the luxury of a rich dessert to the table without the stress of a water bath or the anxiety of a cracking top. By layering the components, the texture remains light and airy, allowing the tartness of the fruit to cut through the density of the cream cheese.
Using a no bake cheesecake parfait with cherry pie filling transforms a heavy cake into a delicate experience. It reflects a broader culinary movement toward portion-controlled, visually appealing desserts that prioritize fresh textures and immediate gratification over long baking hours.
Why You'll Love It
- Honestly, it's just such a relief to have a dessert that doesn't require turning on the oven, especially when the house is already warm.
- I mean, those layers of 1 cup (250 g) cherry pie filling and silky mousse feel so fancy, but it's actually quite simple to put together.
- Well, look, there's something so nostalgic about the way the 1 cup (10-12) graham cracker crumbs taste with that bit of melted butter.
- It's just a gentle, creamy treat that lets you slow down, and yeah, the tartness of the cherries really wakes up the whole dish.
Tips for success
- Temperature Control, Use room-temperature cream cheese to ensure a silky mousse without lumps.
- Whipping Technique, Aim for soft peaks with the heavy cream; over-whipping makes the mousse too dense.
- Filling Temp, Ensure cherry pie filling isn't hot or steaming, or the base won't stay firm.
Professional secrets
- The fold technique is key—using a spatula to stir just until incorporated keeps the mousse light.
- Layering 2/3 cup of mousse first creates a stable foundation for the heavy fruit filling.
- A final dusting of powdered sugar or lemon juice adds a professional, polished finish.
Common mistakes to avoid
- Over-whipping the cream, which makes the mousse too dense.
- Using cold cream cheese, which leads to lumps in the filling.
- Adding hot pie filling, which can melt the cheesecake layers.
Substitutions
- graham cracker crumbs:* digestive biscuit crumbs. Works perfectly for a similar buttery crunch.
- cherry pie filling:* raspberry jam. Use a high-quality seedless jam for a similar tartness.
Variations
- Chocolate-Berry Parfait:* Swap the cherry pie filling for a mix of crushed frozen berries and melt a thin layer of dark chocolate between mousse layers for a chocolatey, fruity twist.
- Lemon Blueberry Parfait:* Replace the cherry filling with a smooth blueberry compote and add a pinch of zest to the cheesecake mousse for a bright, citrusy profile.
Storage
Store your parfaits in an airtight container in the fridge for up to 3 days, or freeze them in a freezer-safe dish and thaw in the fridge for 4-6 hours.
Make ahead
These are actually better when made ahead! You can assemble them and let them set in the fridge overnight, which makes them just perfect for guests.
Leftovers
Keep them in an airtight container in the fridge for up to 3 days. If you want them to last longer, you can freeze them, just remember to thaw in the fridge for 4-6 hours before eating.
Serving ideas
- Add a drizzle of dark chocolate ganache over the top for a rich, glossy finish.
- Serve with a side of vanilla bean ice cream for a contrasting texture.
- Top with toasted almond slivers for a bit of crunch.
- Finish with a sprinkle of sea salt to enhance the cherry flavor.
Allergy information
Contains dairy (cream cheese, butter, heavy cream) and gluten (graham cracker crumbs).
No Bake Cheesecake Parfait With Cherry Pie Filling
A dreamy, layered dessert that requires zero oven time. Tart cherries and silky cream cheese create a perfect balance. Ready in just ten minutes of active work.
- Prep time
- 10 min
- Total time
- 10 min
- Difficulty
- Easy
- Cuisine
- American
Ingredients
Crust
Cheesecake Mousse
Fruit and Garnish
Instructions
- 1
In a small bowl, go ahead and combine the graham cracker crumbs, melted butter, and 2 Tbsp sugar. Stir it all together until the mixture coats the crumbs just like damp sand—it's a lovely, nostalgic smell, honestly.
- 2
Now, press about 2 Tbsp of that crust mixture into the bottom of each parfait glass. Squeeze it down firmly to form a thin, even layer. I usually place my glasses on a chilled parchment square or a turntable and pop them in the refrigerator while I get the filling ready.
- 3
In the bowl of your food processor, blend the softened cream cheese until it's completely smooth. Add in the powdered sugar, vanilla, and lemon juice, then just pulse until it's all well combined.
- 4
Transfer that creamy mixture over to a medium mixing bowl. Gently fold in the whipped heavy cream with a spatula, stirring just until it's incorporated and light. You're looking for soft peaks here—don't overdo it, or it'll get too dense.
- 5
Spoon a thin layer of the cheesecake mousse into each chilled parfait glass, up to about 2/3 cup. Sprinkle a layer of cherry pie filling over the mousse, then top it with another layer of mousse to seal in that fruit.
- 6
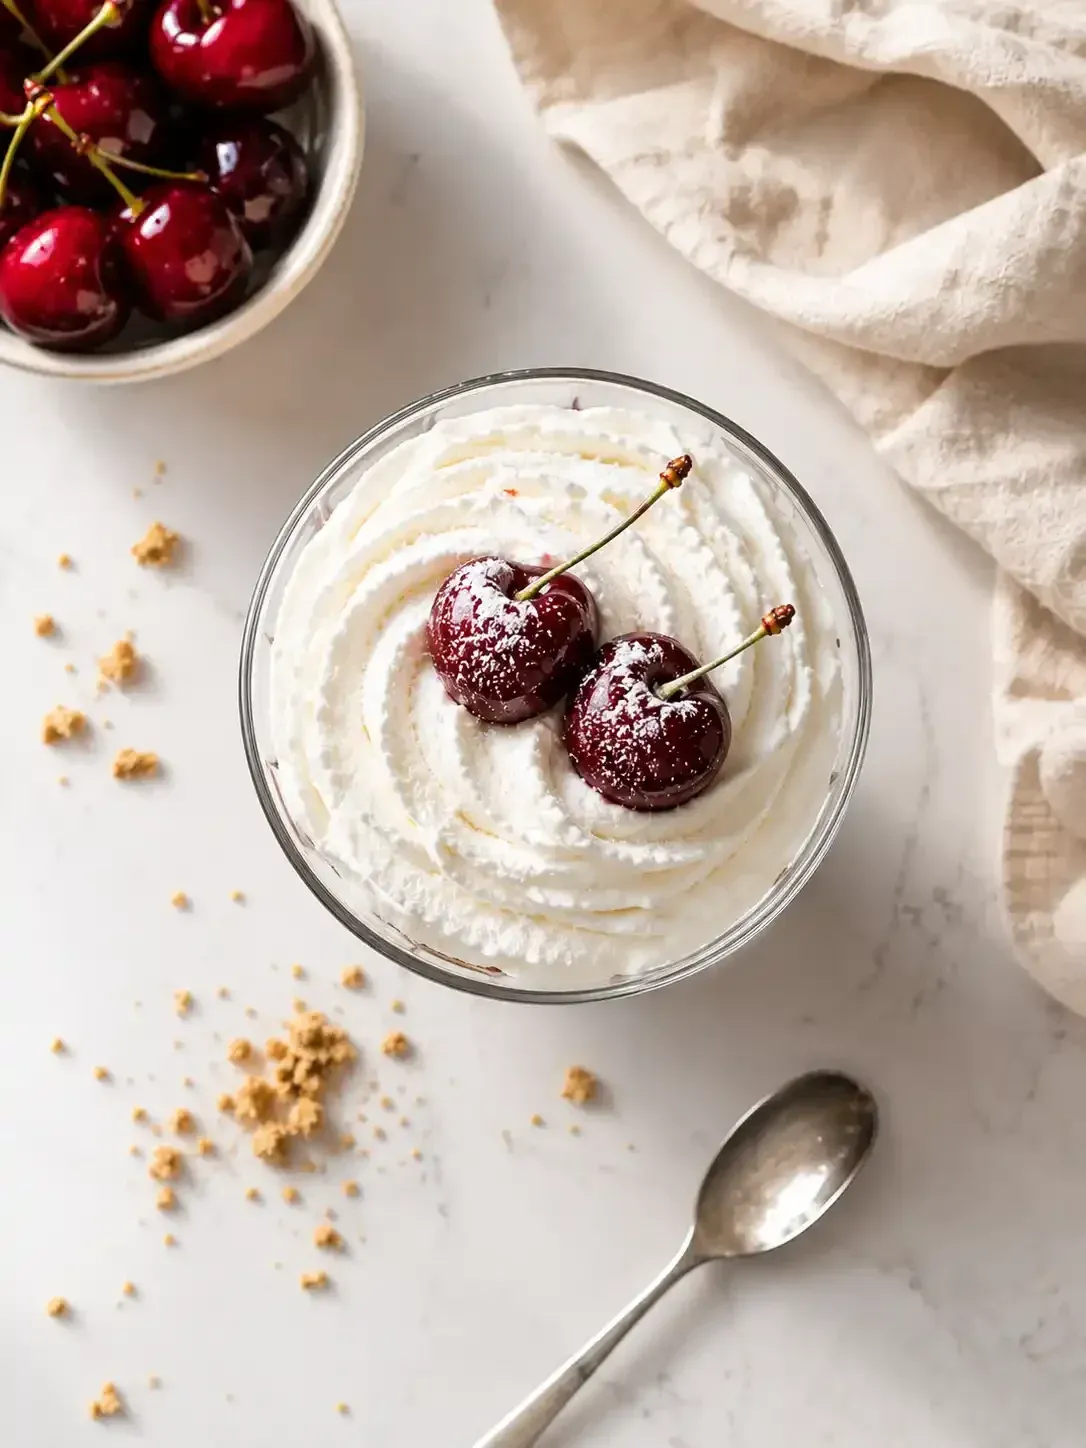
Tuck a few fresh cherries on top for a little bit of color. Cover the glasses with plastic wrap, and if you like, seal them with parchment paper for a nice, clean look.
- 7
Refrigerate the parfaits for at least 2 hours—or even overnight, if you have the patience. This lets the layers set and the flavors really meld together.
- 8
Just before you serve them, remove the parchment and gently lift the parfaits off the base. I like to finish mine with a light dusting of powdered sugar or maybe a splash of lemon juice if I'm feeling like something extra tart.
- 9
Serve them chilled, and feel free to garnish with whole cherries or a drizzle of rich chocolate sauce for a more indulgent twist. Wow, they look beautiful!
Nutrition per serving
- 480 kcal
- Calories
- 6 g
- Protein
- 38 g
- Carbs
- 32 g
- Fat
Tips & notes
- Make sure your cream cheese is truly softened to avoid those pesky little lumps. - The cherry pie filling needs to be cold or room temperature so it doesn't melt the mousse. - Using a turntable helps keep the glasses steady while you're layering.
Frequently asked questions
Can I make these a day ahead of time?
Oh, absolutely. In fact, I think they're even better if they sit overnight in the fridge to let the flavors really get to know each other.
My mousse seems too thick, what happened?
Oops, you might have over-whipped the heavy cream. Just remember to keep those peaks soft, and the mousse will stay light and airy.
How do I keep the layers looking so clean?
I find that using a spatula to gently spoon the mousse and sealing the top with parchment paper helps keep everything tidy and flat.
Share:
Join our newsletter
New posts straight to your inbox. No spam, unsubscribe anytime.