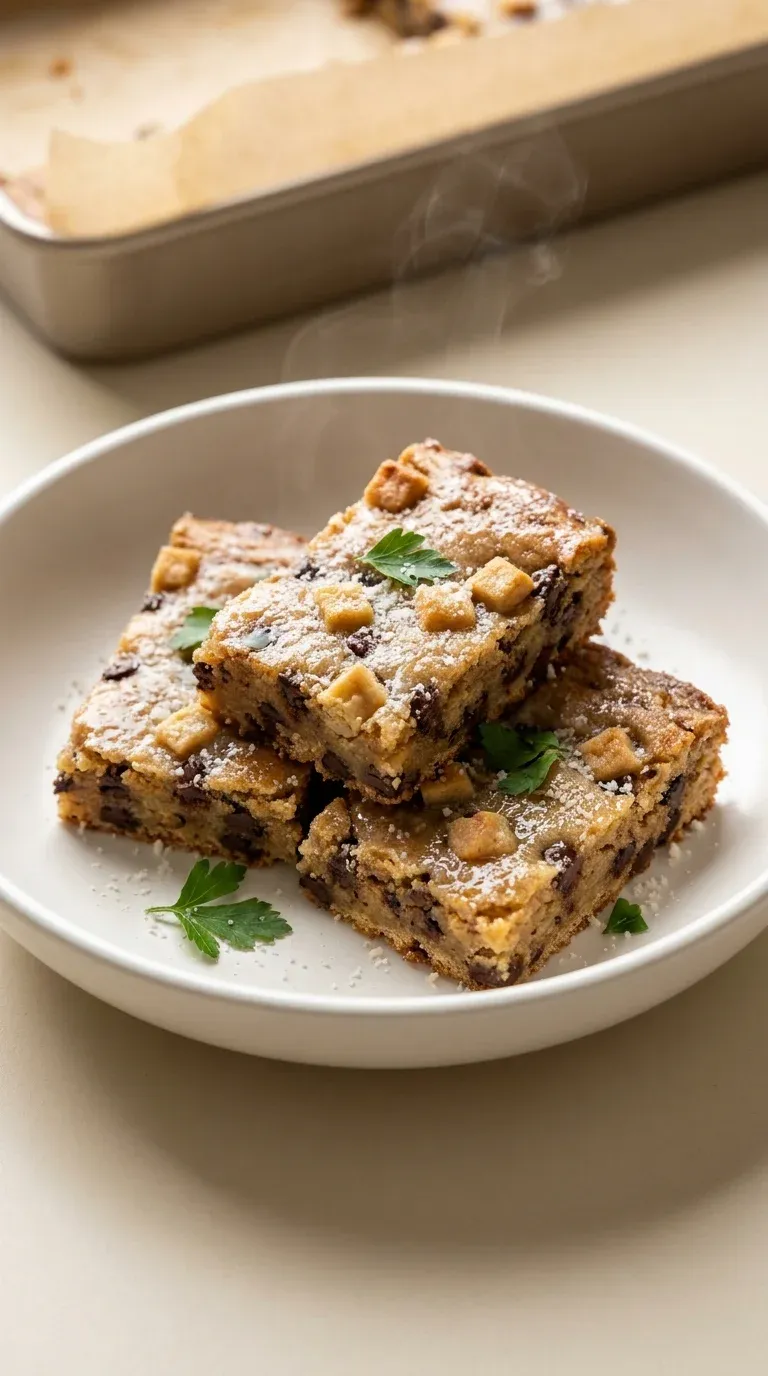
Chewy Chocolate Chip Cookie Bars
The ultimate comfort food baked into easy squares. Packed with semi-sweet chocolate chips and a tender crumb. A simple treat that feels like a hug from the oven.
- Total time
- 45 min
- Servings
- 24 Servings
- Difficulty:
- Easy
Table of contents
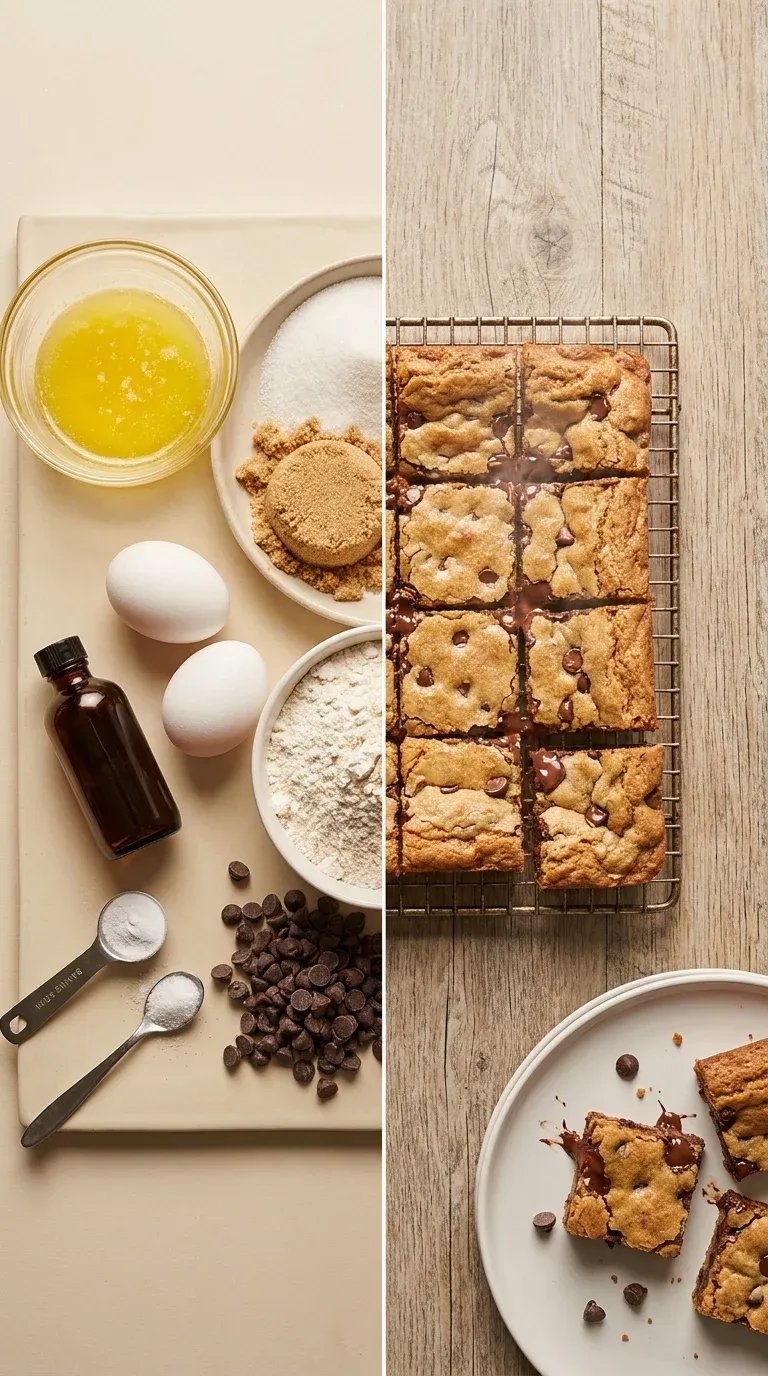
I remember when I first started baking for the neighborhood kids, I used to get so flustered trying to scoop out individual cookies. I mean, honestly, who has the time for that when the house already smells like 1 cup (2 sticks) unsalted butter, melted and golden? So, I just started pressing everything into one pan, and well, look, that's how these chewy chocolate chip cookie bars became my favorite way to share something sweet.
There is just something about the way 2 cups semi-sweet chocolate chips melt into the dough that feels like home. It's that quiet moment in the kitchen, the soft hum of the mixer, and the anticipation of that first warm, gooey bite. It's not fancy, but that's the point, yeah?
Ugh, I can almost taste it now—the richness of 3/4 cup packed light brown sugar and 1 1/2 cups granulated sugar combining to make that perfectly chewy edge. Just a simple, grounded treat for whenever you need a little bit of comfort.
The story behind it
The tradition of the chocolate chip cookie is a relatively modern American classic, born from a happy accident in the 1930s. While individual cookies are the gold standard, the transition to chewy chocolate chip cookie bars reflects a shift toward communal, family-style baking that prioritized ease and shared enjoyment over precision.
These bars utilize the classic chemistry of all-purpose flour, baking soda, and salt to create a structure that is denser and moister than a standard cookie. By baking them in a single pan, the moisture from the eggs and melted butter is trapped more effectively, resulting in that signature chewy texture that lingers on the palate.
Culturally, the 'bar' format turned a delicate dessert into a hearty treat suitable for potlucks and school bake sales. It transformed a precise art into a rustic gesture of kindness, where the focus is on the abundance of semi-sweet chocolate chips and the warmth of the oven rather than the perfection of a circle.
Today, this style of baking remains a staple of home comfort, bridging the gap between a cake and a cookie. It is a reflective nod to a time when the simplest ingredients—like pure vanilla extract and brown sugar—were enough to bring a whole room together.
Why You'll Love It
- Honestly, there is just something so grounding about a pan of these, and the way they stay soft and chewy reminds me of the treats I used to make for school bake sales.
- Well, look, using a 9x13 inch baking pan makes everything so much easier than scooping individual cookies, so you can just relax and enjoy the process.
- I mean, the smell of melted butter and vanilla filling the kitchen is just pure comfort, especially when those semi-sweet chocolate chips start to melt.
- Dang, they really are the ultimate treat—buttery, sweet, and just the right amount of gooey in the center to make you feel like a kid again.
Tips for success
- Butter Temperature, Use slightly melted butter (but not hot) to create those wonderfully chewy edges
- Don't Overbake, Slightly underbaked bars are chewier; look for golden edges and moist crumbs
- Chocolate Variety, For a richer flavor, try using dark chocolate chips or a mix of semi-sweet and dark
Professional secrets
- The secret to the texture is in the butter; slightly melted butter helps the sugars spread for a better chew
- Preventing toughness by mixing dry ingredients on low speed and stopping as soon as they are combined
- Using a warm, sharp knife ensures a clean professional cut without tearing the soft center
Common mistakes to avoid
- Overmixing the batter, which makes the bars tough instead of chewy
- Overbaking, which removes the soft center we're looking for
- Removing the bars from the pan while still hot, causing them to crumble
Substitutions
- Semi-sweet chocolate chips:* Dark chocolate chunks. Gives a more intense, less sweet chocolate flavor
- Unsalted butter:* Salted butter. Reduce the added salt by 1/4 teaspoon
Variations
- Peanut Butter Chocolate Chip Bars:* Well, for a nutty twist, just add 1/2 cup of creamy peanut butter to the wet ingredients along with your butter and sugars. It's just a delicious match for the chocolate.
- Salted Caramel Chocolate Chip Bars:* If you like that sweet and salty thing, drizzle the baked bars with caramel sauce and a pinch of flaky sea salt before they cool completely. Wow, just irresistible!
Storage
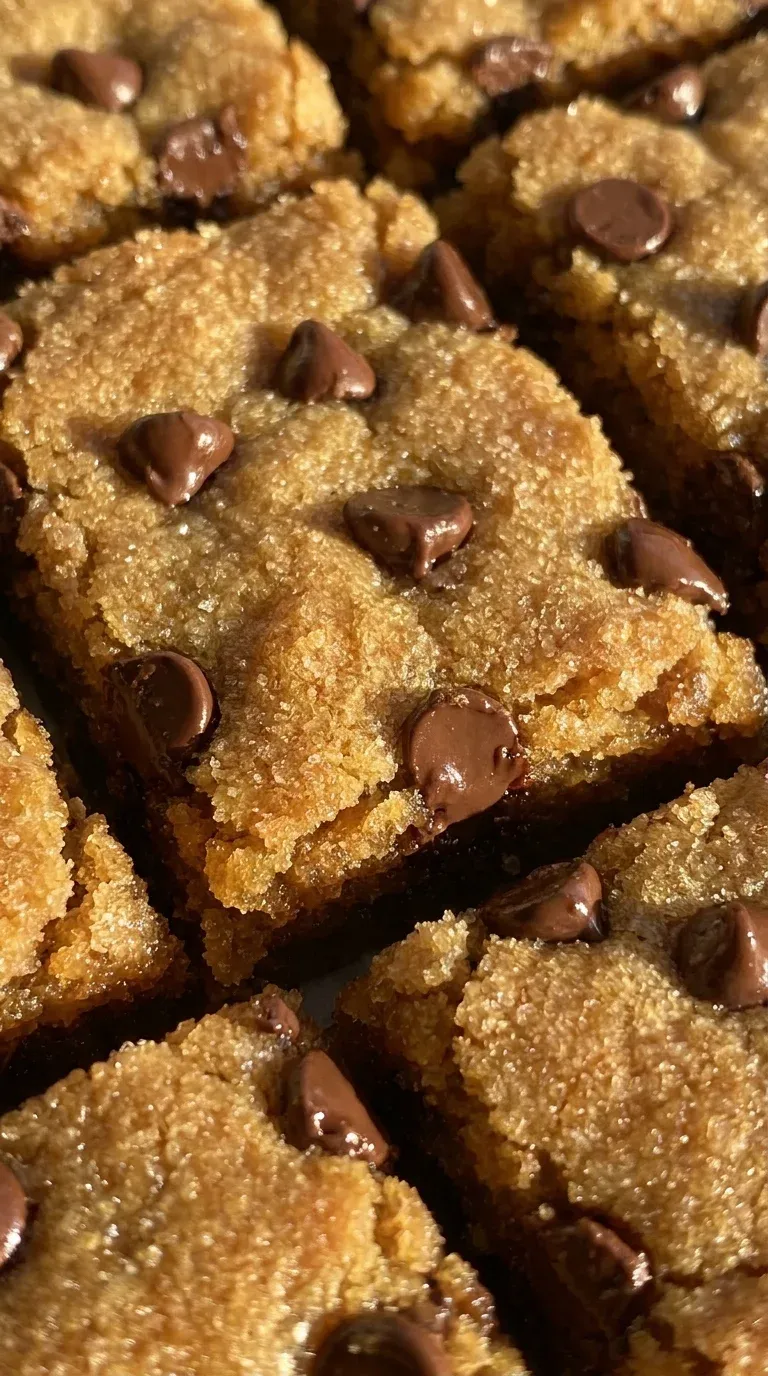
Keep them in an airtight container at room temperature for up to 3 days, or freeze individually wrapped bars for up to 2 months.
Make ahead
You can certainly bake these in advance and store them in an airtight container for 3 days, or freeze them for up to 2 months for a quick treat later.
Leftovers
Any remaining bars can be kept at room temperature in a sealed container; just pop one in the microwave for 10 seconds to get that fresh-baked feel.
Serving ideas
- Warm them up and serve with a cold glass of milk
- Top with a scoop of vanilla ice cream for a decadent dessert
- Drizzle with melted white chocolate for a pretty, sweet presentation
- Pair with a fresh cup of coffee in the afternoon
Allergy information
Contains wheat (flour), eggs, and dairy (butter). High in sugar and fat.
Chewy Chocolate Chip Cookie Bars
The ultimate comfort food baked into easy squares. Packed with semi-sweet chocolate chips and a tender crumb. A simple treat that feels like a hug from the oven.
- Prep time
- 15 min
- Cook time
- 30 min
- Total time
- 45 min
- Difficulty
- Easy
- Cuisine
- American
Ingredients
Main Ingredients
Instructions
- 1
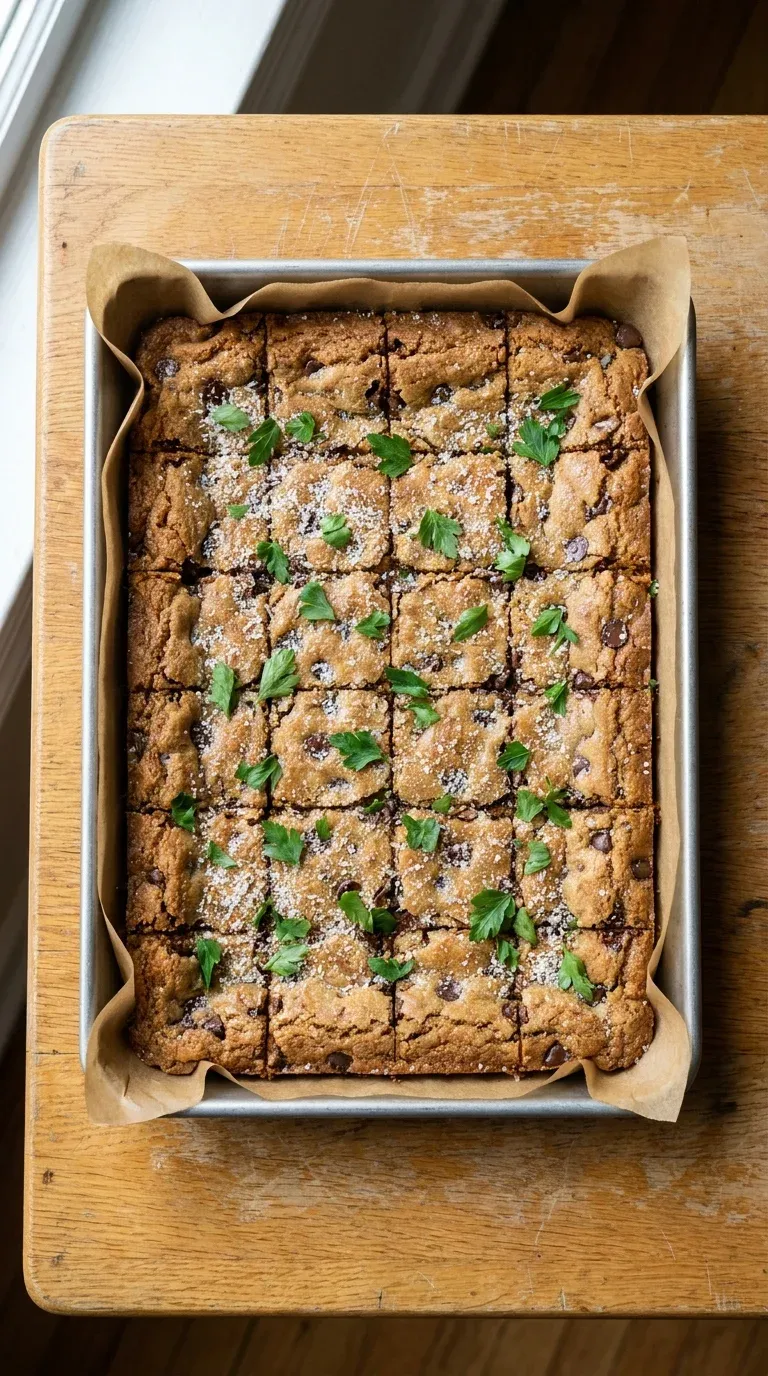
First things first, go ahead and preheat your oven to 350°F (175°C). I always line my 9x13 inch baking pan with parchment paper, and here is a little trick: leave an overhang on the sides. It makes it so much easier to lift the bars out later without any fuss.
- 2
In a large mixing bowl, bring together your melted butter, granulated sugar, and brown sugar. Use your electric mixer on medium speed and beat them until they're well combined and just a bit fluffy. Usually takes about 2-3 minutes, honestly.
- 3
Now, beat in those eggs one at a time—don't rush it—and then stir in the vanilla extract. I like to make sure everything is thoroughly mixed so the flavor is just right.
- 4
In a separate bowl, just whisk together the flour, baking soda, and salt. It seems simple, but it really helps ensure the leavening agent and salt are spread evenly through the dough.
- 5
Gradually add your dry ingredients into the wet ones, mixing on low speed until they're just combined. Look, be careful not to overmix here; if you do, the bars can get a bit tough, and we want them chewy.
- 6
Gently stir in the semi-sweet chocolate chips until they're evenly distributed. I've found a rubber spatula works best for this part, just folding them in with love.
- 7
Pour that lovely batter into your prepared pan and spread it out evenly with your spatula. Make sure you push it right into the corners so every single piece bakes consistently.
- 8
Bake for 25-30 minutes. You're looking for edges that are golden brown and a toothpick in the center that comes out with a few moist crumbs. Just a heads up, baking times can vary, so keep a close eye on them.
- 9
Now comes the hard part: let the bars cool completely in the pan on a wire rack. Once they're cool, use that parchment paper overhang to lift them out. This is just crucial, otherwise they might crumble.
- 10
Cut them into squares and you're done! I suggest using a sharp, warm knife to get those nice, clean cuts we all love.
Nutrition per serving
- 280 kcal
- Calories
- 4 g
- Protein
- 32 g
- Carbs
- 14 g
- Fat
Tips & notes
- Allow the bars to cool completely before removing from the pan to prevent crumbling - Use parchment paper with an overhang for easy removal - Avoid overmixing the batter to keep the bars soft and chewy
Frequently asked questions
Can I use a different size pan?
I really recommend sticking with the 9x13 inch baking pan. If you use a smaller one, they'll be too thick and won't bake evenly in the middle.
How do I know when they are actually done?
Look for those golden brown edges! A toothpick should come out with a few moist crumbs—if it's completely clean, you've overbaked them.
Do these actually freeze well?
Oh, they do! Just wrap the individual bars in plastic wrap and pop them in a freezer bag; they stay wonderful for up to 2 months.
Share:
Join our newsletter
New posts straight to your inbox. No spam, unsubscribe anytime.