Strawberry cake how to decorate: easy 3‑step design guide
Create a stunning strawberry cake how to decorate with fresh slices and whipped cream in just three easy steps. I’ve tested it for years—learn how today.
- Layla
- Strowbary Cake
- October 11, 2026
- 5 min read
- Total time
- 1 h 5 min
- Servings
- 12 Servings
- Difficulty:
- Easy
Table of contents
- Why Decorating Your Strawberry Cake Matters
- How to Decorate a Strawberry Cake: 3‑Step Design Guide
- Step 1 – Pipe Perfect Whipped‑Cream Rosettes
- Tools and Preparation
- Piping Technique
- Step 2 – Arrange Fresh Strawberry Slices Elegantly
- Selecting and Preparing Strawberries
- Placement Patterns
- Step 3 – Drizzle Strawberry Puree for a Glossy Finish
- Preparing the Strawberry Puree
- Drizzle Techniques
- Finishing Touches and Setting the Cake
- Frequently Asked Questions About Decorating
Why Decorating Your Strawberry Cake Matters
The strawberry cake how to decorate guide starts by showing why the look matters. The main recipe page gives you the batter, the jam, the frosting. This page, however, isolates just the decoration part. A well‑decorated cake catches the eye before anyone takes a bite. The bright red strawberries and smooth white cream add a visual pop that makes the cake feel special. The flavor contrast also improves; the sweet jam meets the light whipped cream and fresh fruit. You do not need fancy tools. A piping bag, a knife, and a spoon are enough to get a professional look. The three steps we will cover – piping rosettes, arranging strawberry slices, and drizzling puree – are simple and repeatable. Knowing these steps lets you finish any strawberry cake with confidence and flair.
How to Decorate a Strawberry Cake: 3‑Step Design Guide
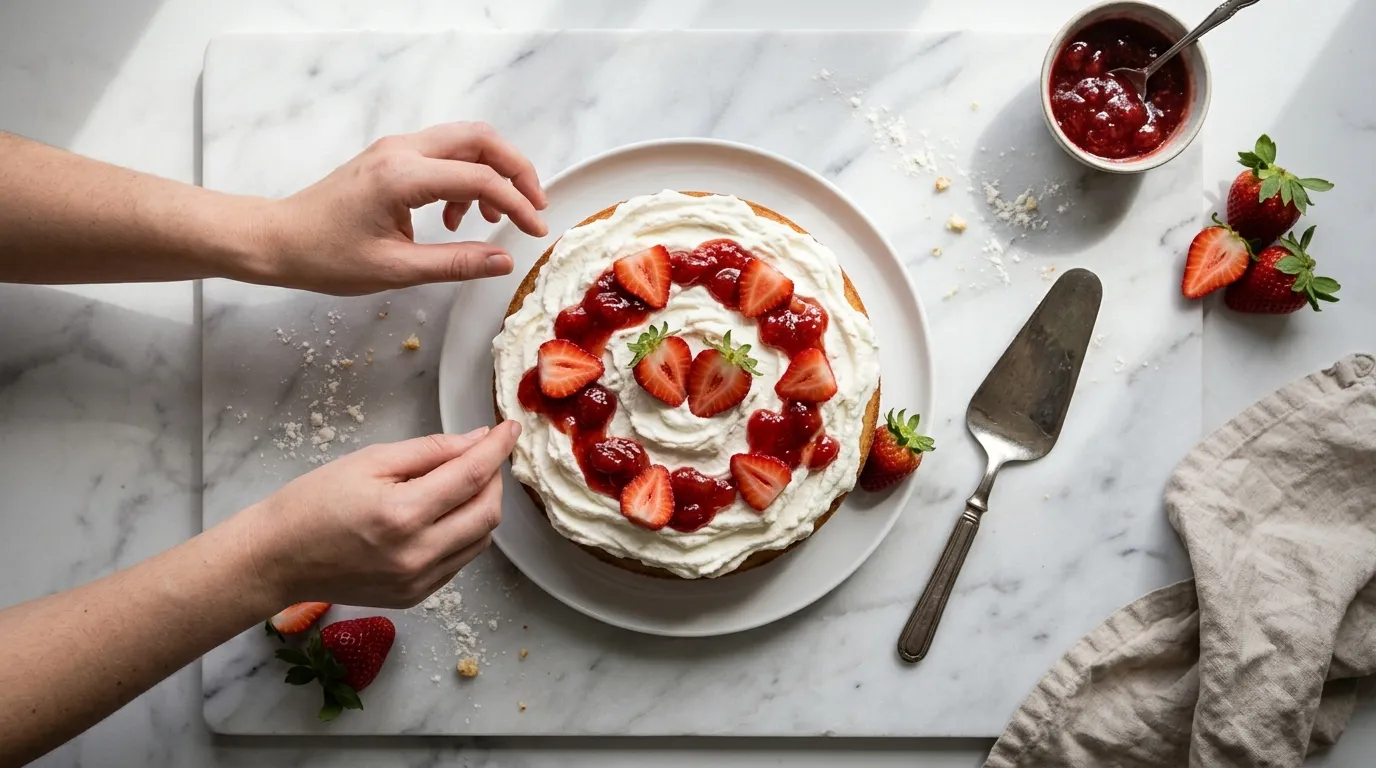
This guide breaks the look into three easy actions.
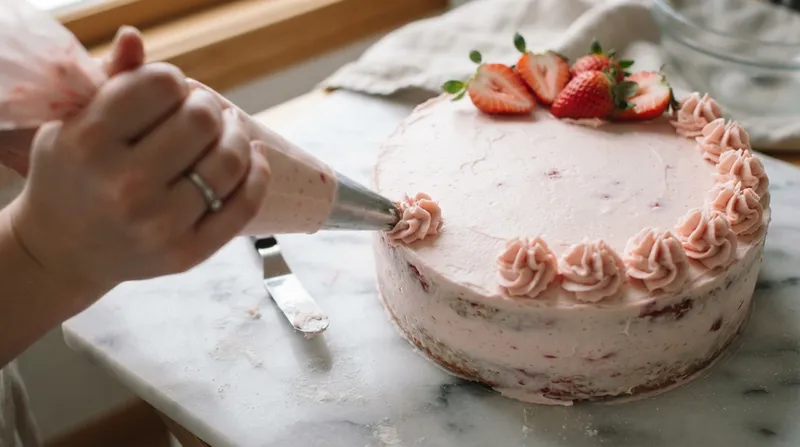
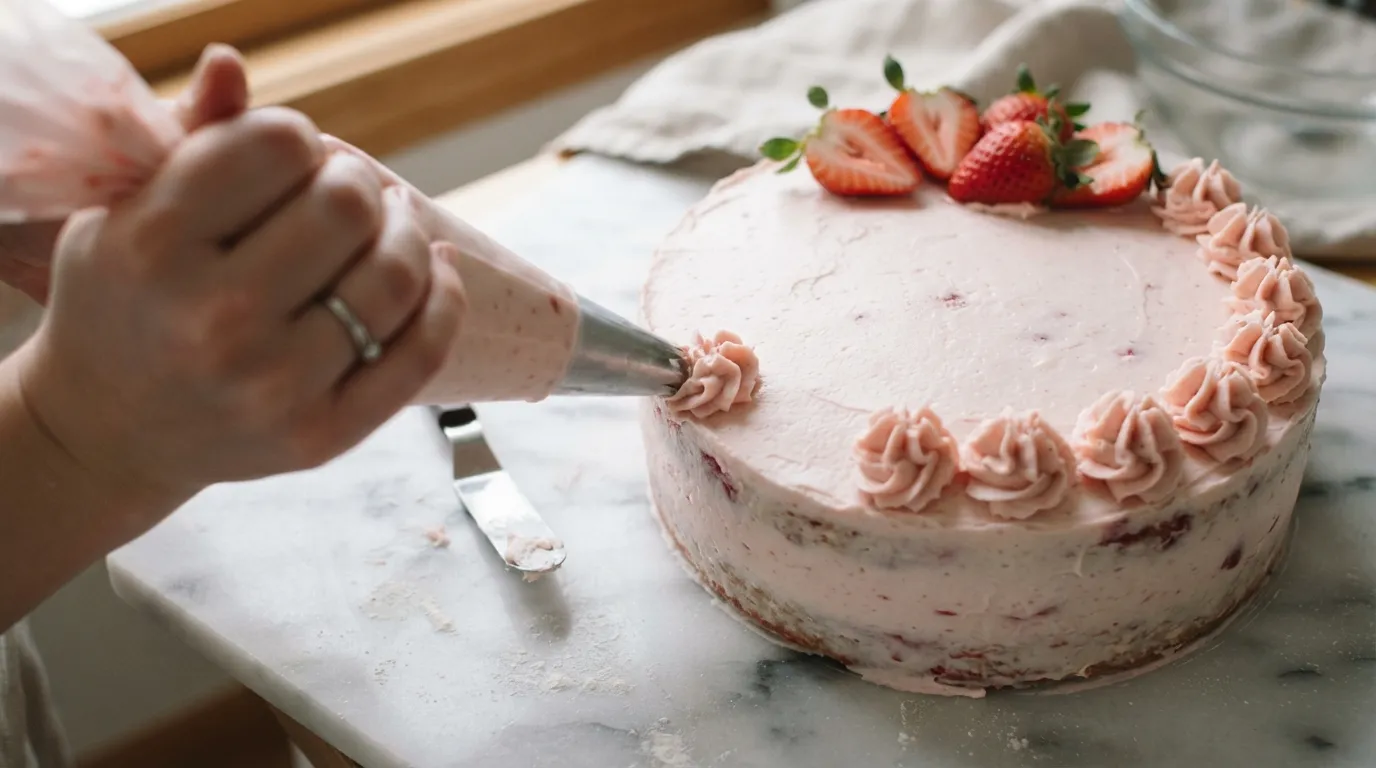
First you pipe soft whipped‑cream rosettes around the edge.
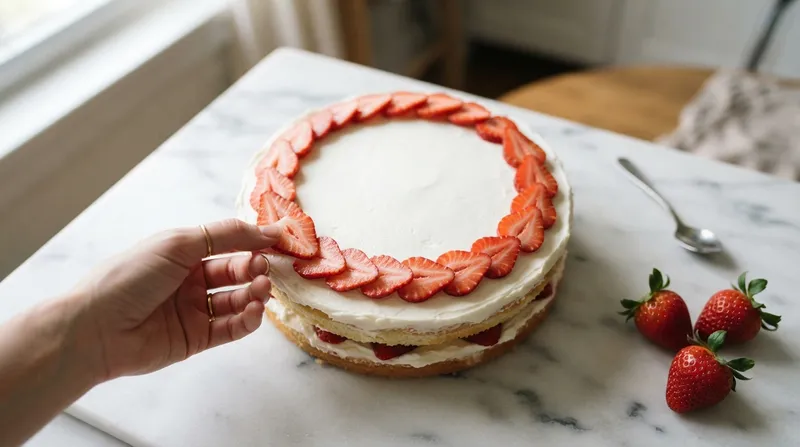
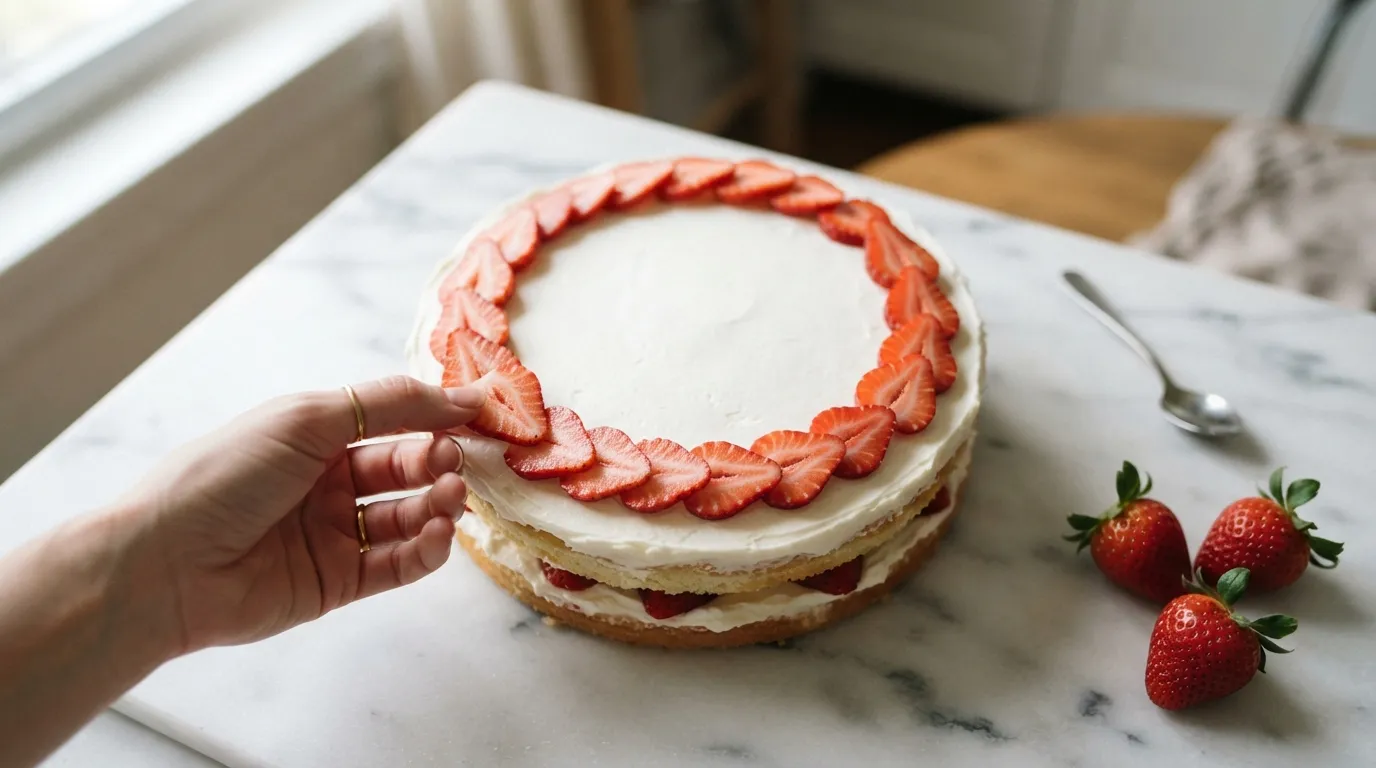
Next you line fresh strawberry slices in a neat circle.
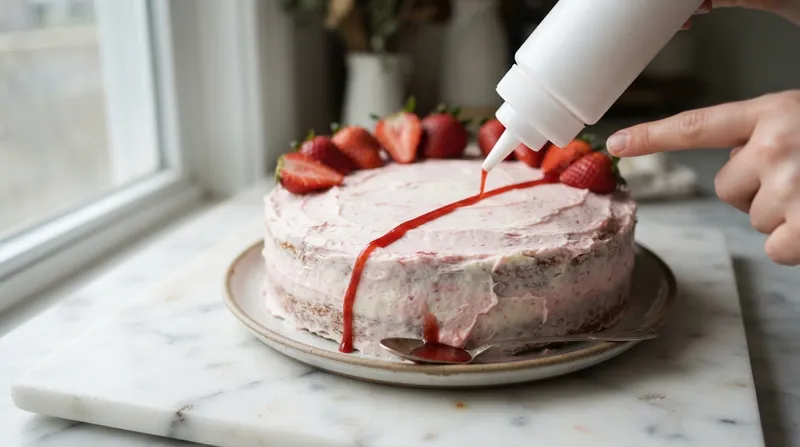
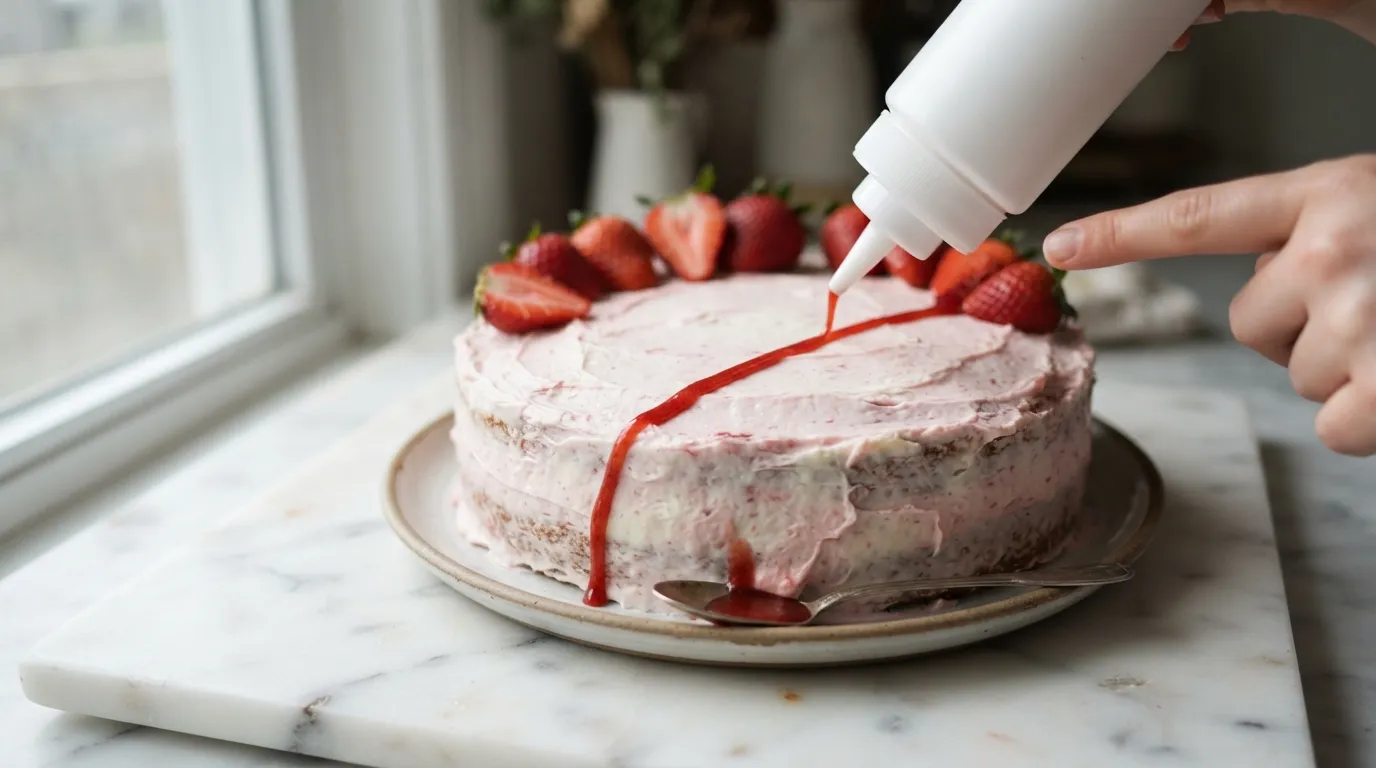
Finally you drizzle a thin ribbon of strawberry puree for shine.
Three steps match the light whipped‑cream frosting perfectly.
The frosting stays fluffy while you add each layer.
Too many steps can melt the cream or look busy.
Keeping it short saves time and keeps the cake tidy.
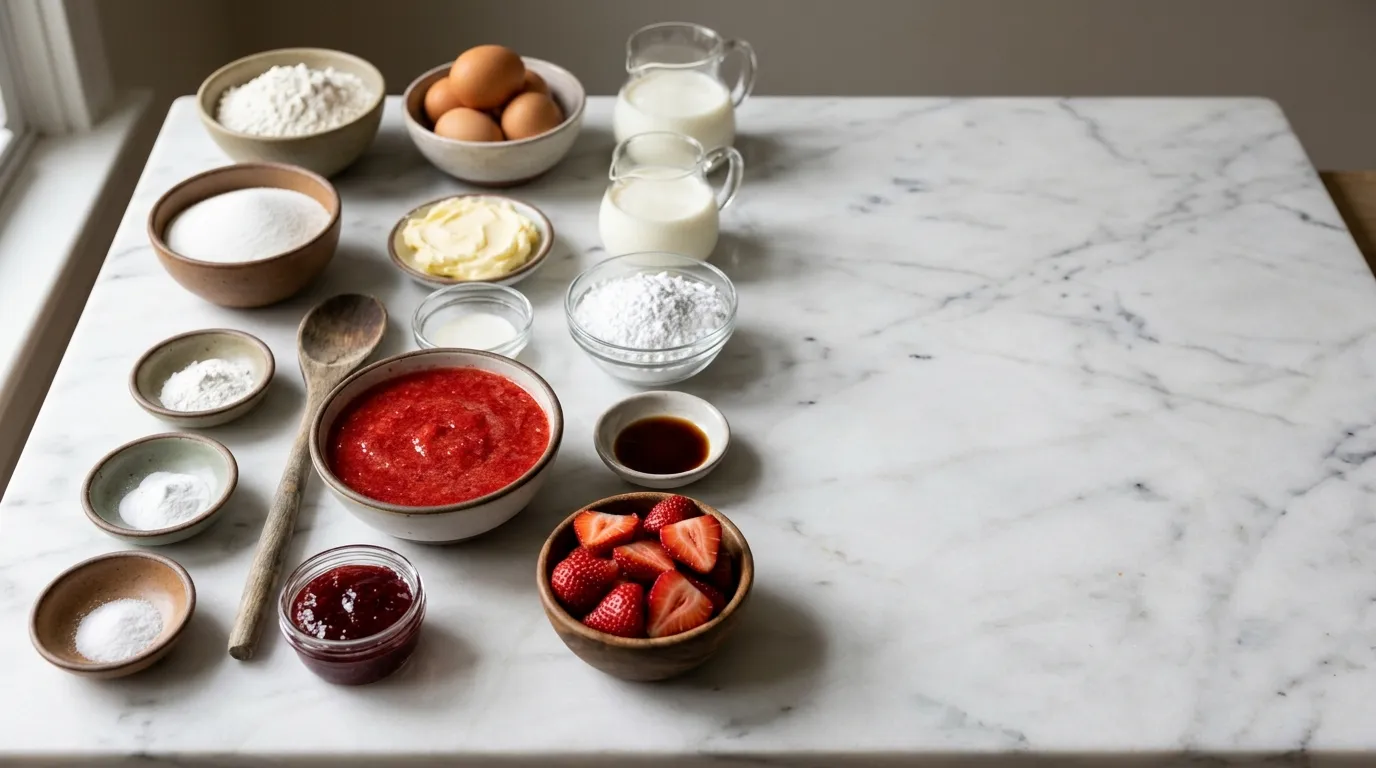
You only need a few tools and the decoration ingredients.
Tools
Piping bag with star tip
Small offset spatula or spoon
Sharp knife
Small saucepan
Spoon for drizzle
Plate or board
Decoration ingredients
Whipped‑cream frosting
Fresh strawberries, thinly sliced
Strawberry jam (optional)
Strawberry puree for drizzle
Step 1 – Pipe Perfect Whipped‑Cream Rosettes
Tools and Preparation
Star tip (Wilton 1M works well) and a sturdy piping bag.
Chill the bag and tip for at least 10 minutes.
Set up a clean workspace with a bowl of cold water for the tip.
A cold tip slides through the cream easier. The water bowl lets you dip the tip if it warms up while you work.
Piping Technique
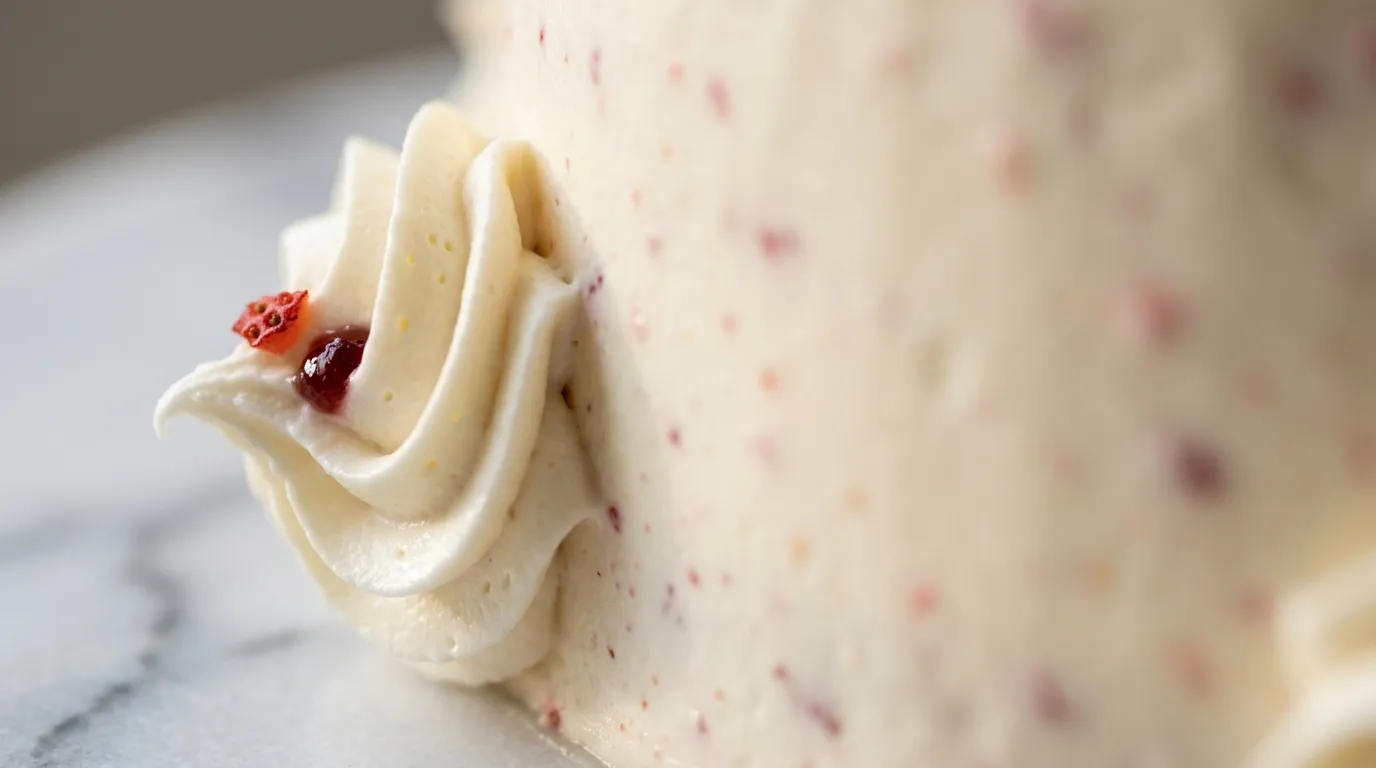
Hold the bag at a 45° angle and press steady pressure.
Fill the bag with whipped‑cream frosting, but stop before it is full. Too much cream makes the bag leak.
Begin each rosette with a tiny circle, then pull the bag upward while you pipe.
Let go of pressure as you finish the shape to stop a sharp peak.
Pipe the rosettes evenly around the side and on the top of the cake. Use a small offset spatula to smooth each one gently. This gives a neat, polished look.
Watch for common slips: a leaky tip or rosettes that are too big or too small. If the cream softens, chill the bag again for a few minutes and keep working. This simple method makes every rosette look the same.
Step 2 – Arrange Fresh Strawberry Slices Elegantly
Selecting and Preparing Strawberries
Choose strawberries that are bright red and firm. No soft spots or bruises.
Wash them gently under cold water. Pat them dry with a paper towel.
Slice each berry thinly, about 2 mm thick. A sharp chef’s knife or a mandoline works best.
Lay the slices on a clean paper towel for a few minutes. This blots extra juice that could make the frosting soggy.
Placement Patterns
Start with a concentric circle around the cake edge. Overlap each slice just a little. The overlap hides gaps and gives a seamless border.
For a fanned look, place slices at an angle outward from the center. Let each slice slightly overlap the one before it. This adds height and a bit of drama.
If you prefer a cascade, let the slices drape down the side in a gentle waterfall.
Tip: Before you put slices on the cake, arrange the pattern on a plate. This lets you see how it will look and fix any uneven spots.
Optional twists: place whole berries on the top for a burst of color, or use halved strawberries on the side for extra texture.
These steps help you master how to decorate a strawberry cake with a polished, bakery‑style edge.
Step 3 – Drizzle Strawberry Puree for a Glossy Finish
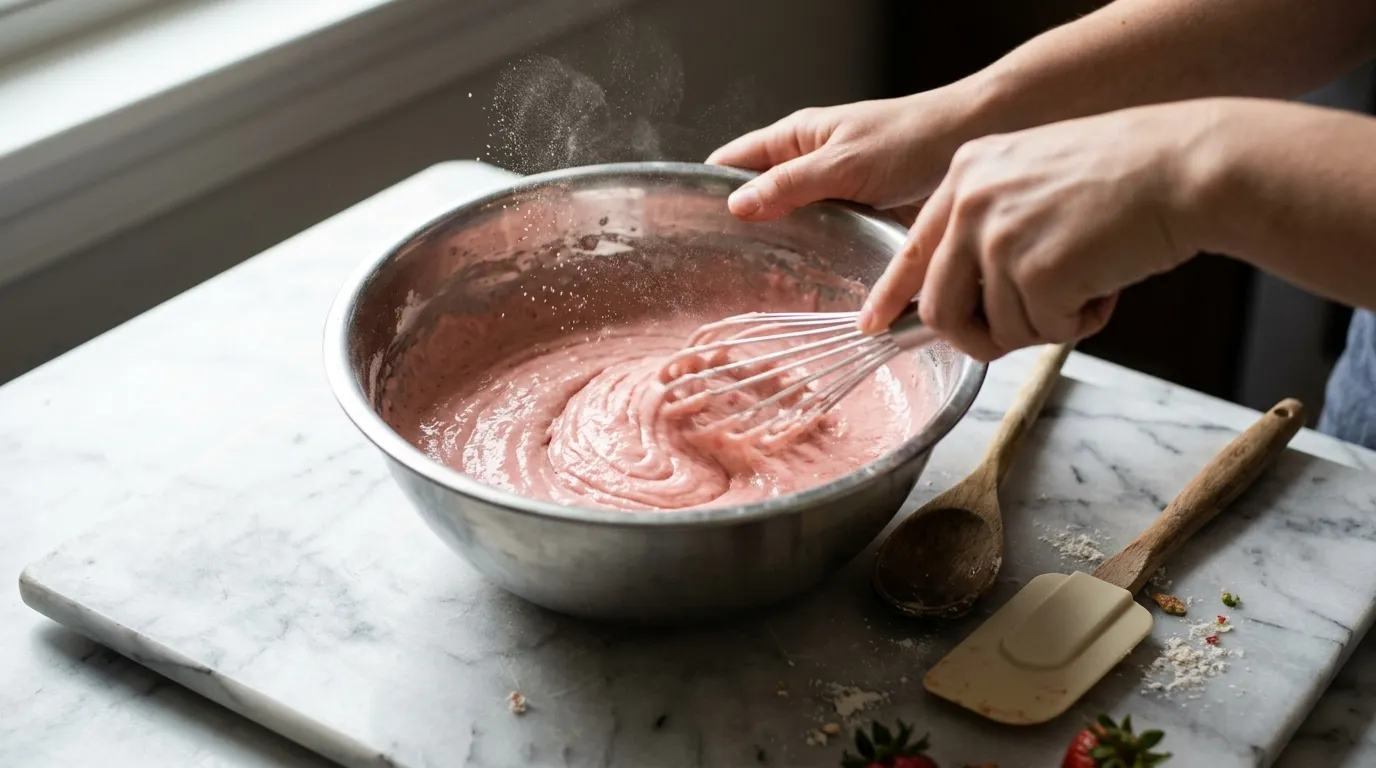
A thin glaze adds shine and extra strawberry flavor. It also keeps the cake looking fresh.
Preparing the Strawberry Puree
Heat the leftover puree in the microwave for 10‑15 seconds. It should be just warm, not hot. Stir a tiny splash of water in, one teaspoon at a time. Keep mixing until the puree flows easily but still tastes strong. Let the mixture sit until it reaches room temperature. The glaze will spread smoothly when it’s cool.
Drizzle Techniques
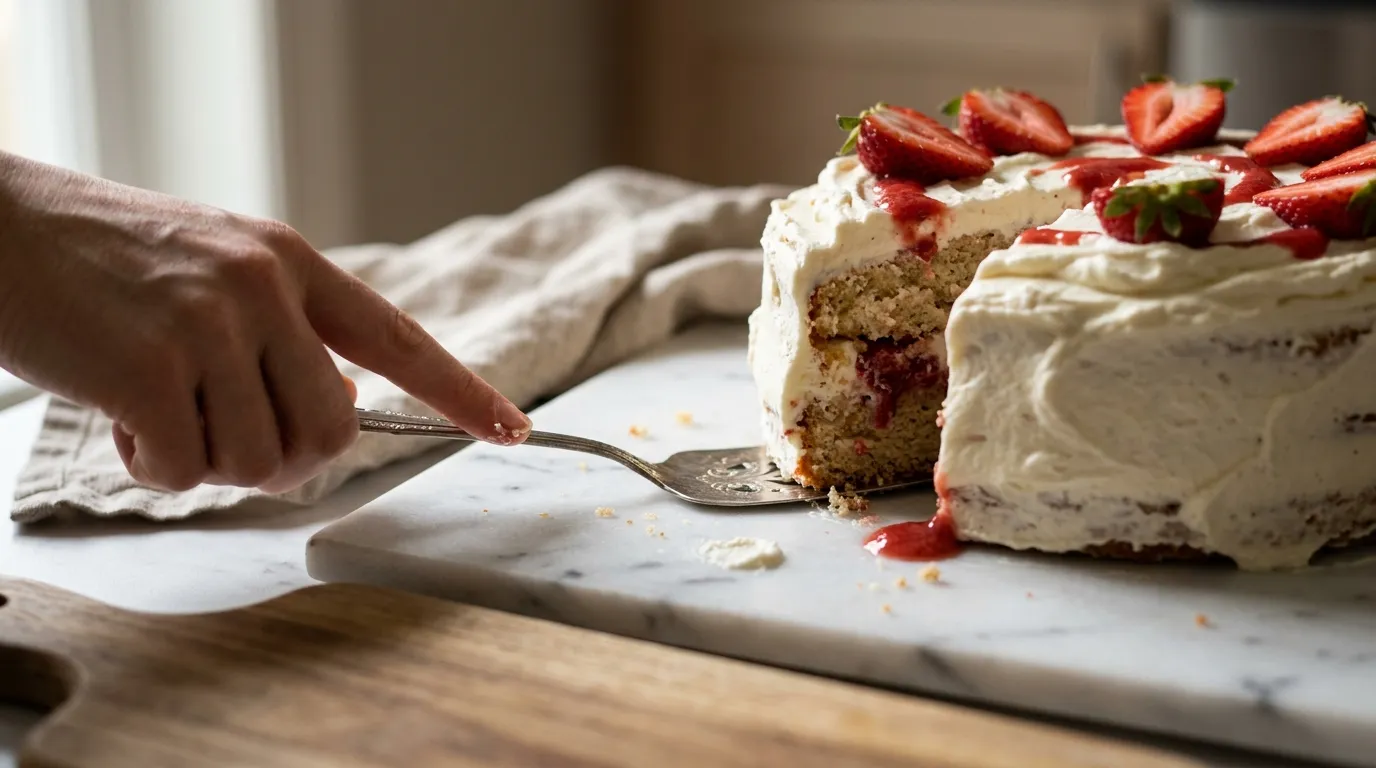
Pour the puree into a squeeze bottle or use a small spoon. Hold the bottle at a low angle. This gives you a thin, steady stream. Drag the bottle across the top to make a straight line. You can also wiggle it for a zigzag pattern. For a marble look, run a toothpick through the wet glaze right after you drizzle. If you want extra shine, add a few drops of melted white chocolate to the glaze before you pour. Let the glaze set for a few minutes before serving.
Finishing Touches and Setting the Cake
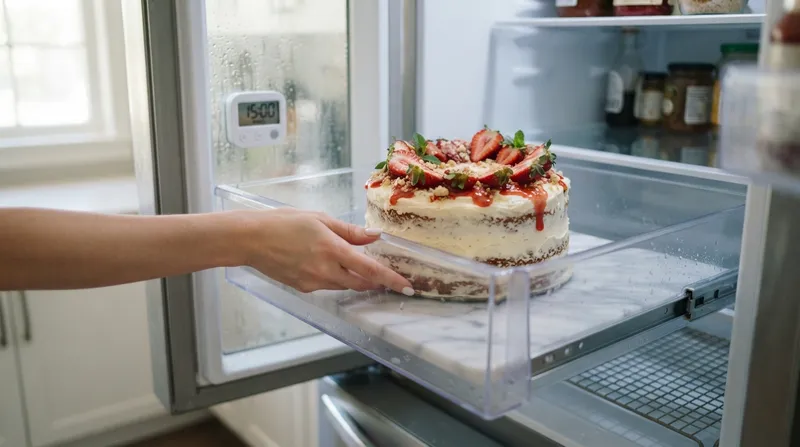
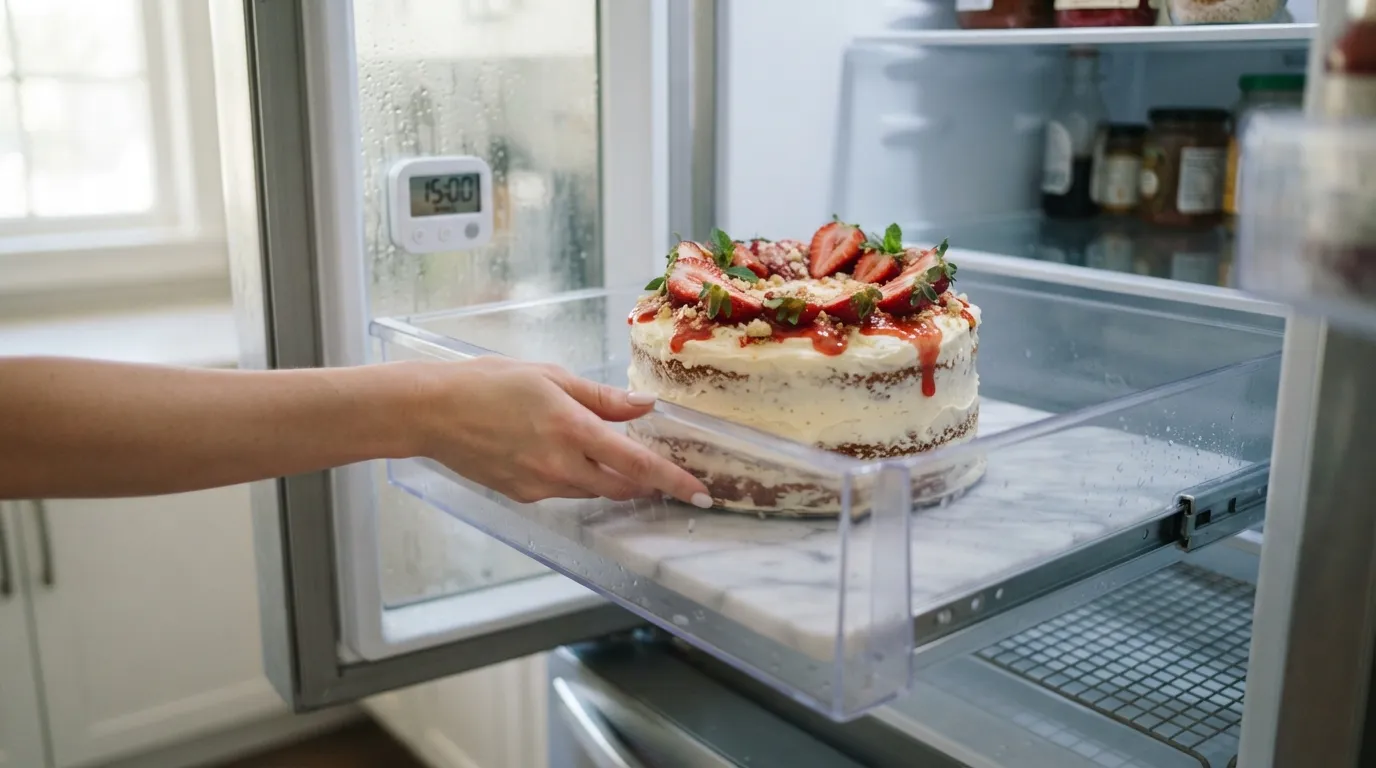
After you finish the strawberry cake how to decorate, lock in your work. First, place the cake in the fridge. Let it sit for 15 minutes. This cool time sets the whipped‑cream frosting so it stays firm.
Next, check the sides. If frosting hangs over the edge, use a cake scraper. Trim the excess. A clean edge makes the cake look neat.
If you are not serving right away, cover the cake loosely with plastic wrap. Keep it refrigerated. The wrap protects the frosting while letting air flow.
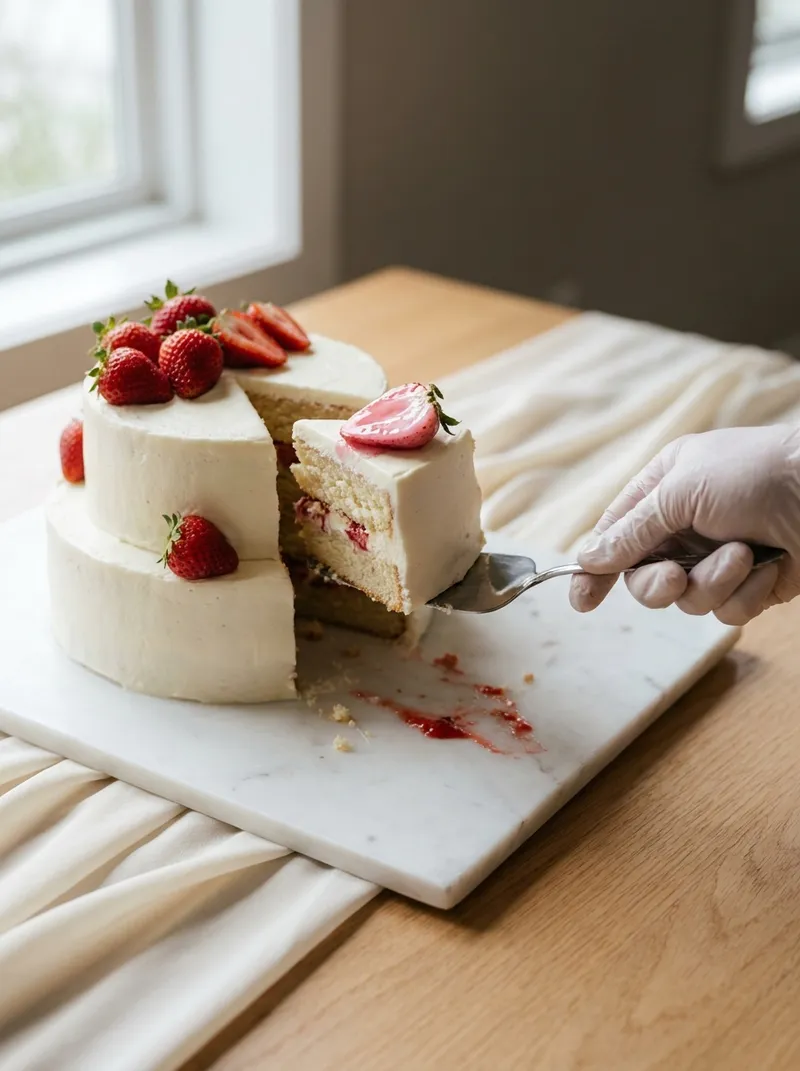
When it’s time to cut, warm a knife in hot water. Dry it on a towel. Slice gently. The warm blade glides through the cream without pulling.
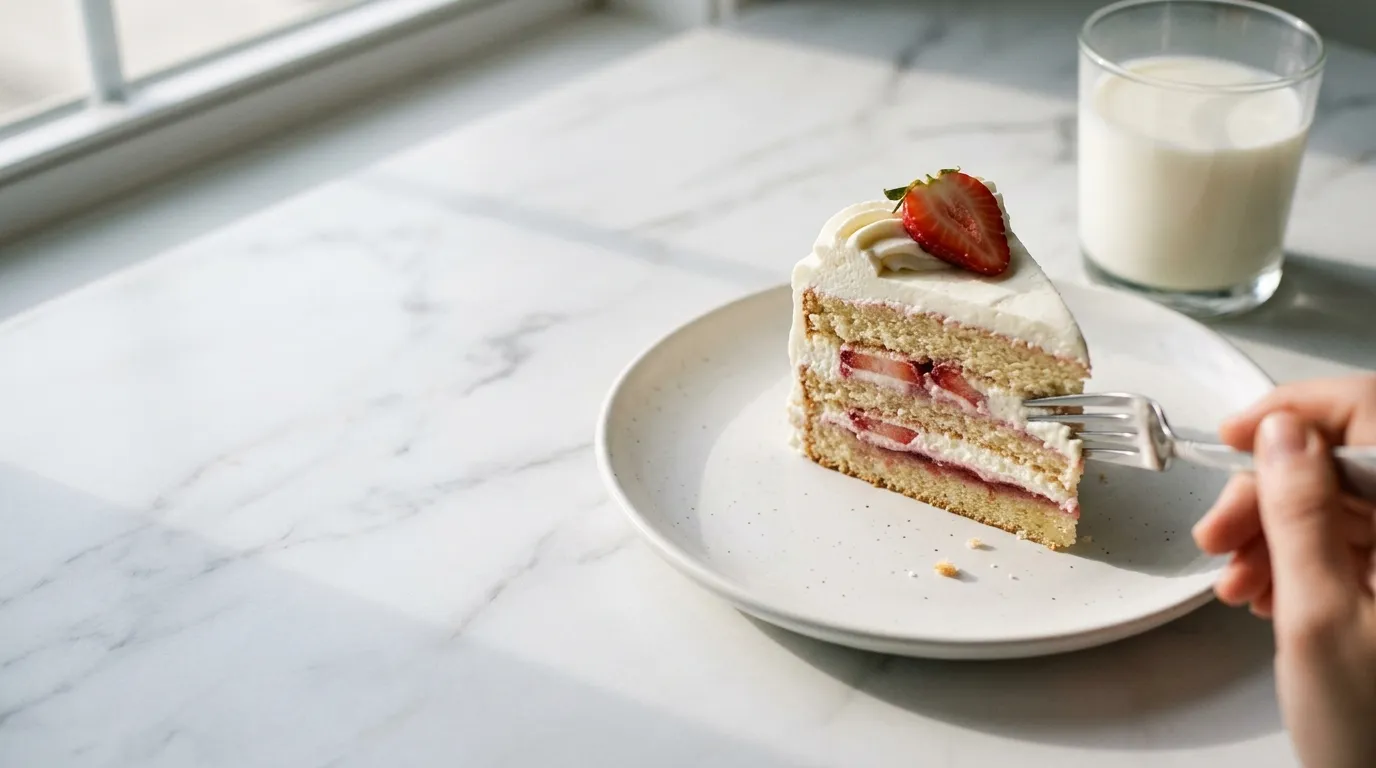
Serve each slice with a dollop of extra whipped cream or a few fresh berries. The extra fruit adds color and a fresh finish. Enjoy your beautifully finished strawberry cake.
Frequently Asked Questions About Decorating
Below are quick answers to the most common questions about how to decorate a strawberry cake.
Can I substitute buttercream for the whipped‑cream frosting?
Yes. Buttercream will hold its shape longer. It feels richer and less airy than whipped cream. It is firmer, so it works well for taller cakes.
How long does a decorated cake stay fresh?
Refrigerated, the cake stays good for up to two days. Keep it covered loosely. If you need longer storage, freeze the cake without frosting.
What if I don’t have a piping bag?
Use a zip‑top bag. Cut a tiny corner and squeeze to pipe rosettes. A small corner gives enough control for simple designs.
Can rosettes be made ahead of time?
Yes. Pipe them a day before and store the cake in the fridge. They stay fresh for about 24 hours. Place them on a plate and cover with plastic wrap.
Strawberry cake how to decorate: easy 3‑step design guide
Create a stunning strawberry cake how to decorate with fresh slices and whipped cream in just three easy steps. I’ve tested it for years—learn how today.
- Prep time
- 40 min
- Cook time
- 25 min
- Total time
- 1 h 5 min
- Difficulty
- Easy
- Cuisine
- American
- Course
- Dessert
Ingredients
Cake
Strawberry Jam Layer
Whipped Cream Frosting
Decoration
Instructions
- 1
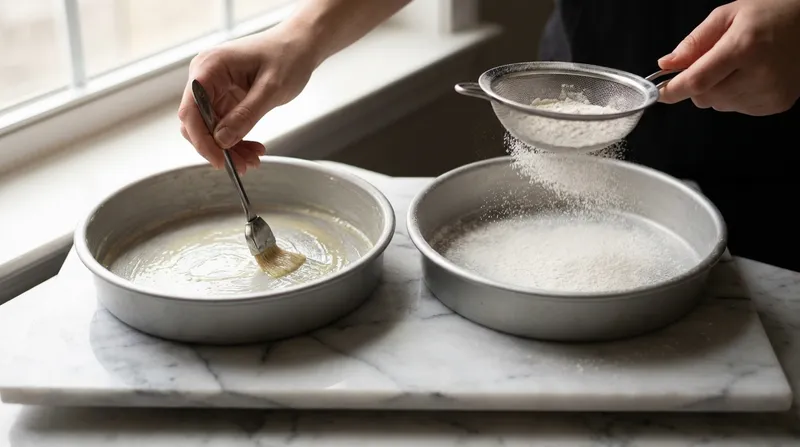
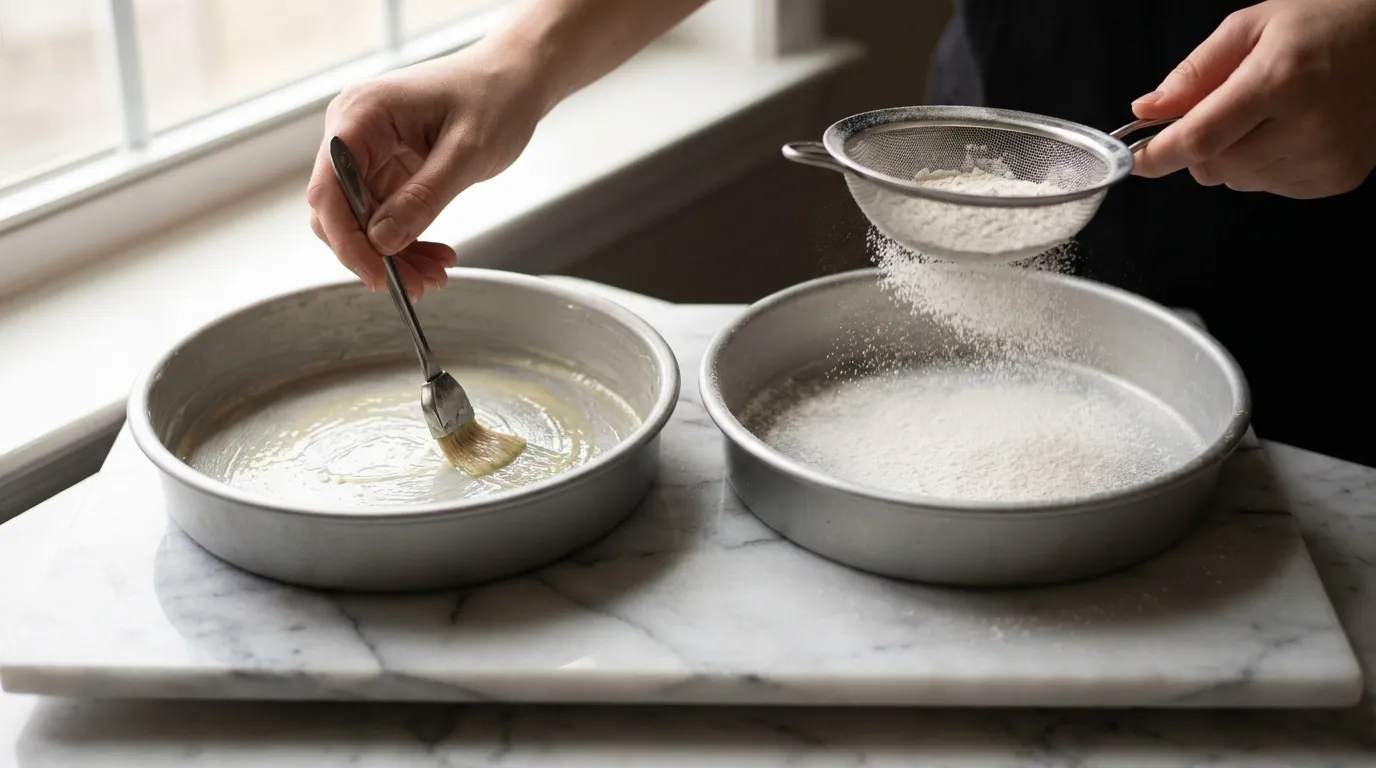
Preheat oven to 175 °C. Grease and flour two 8‑inch round cake pans.
- 2
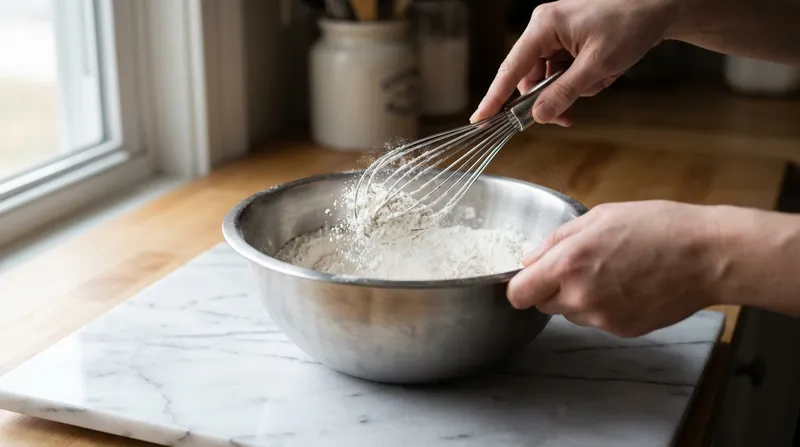
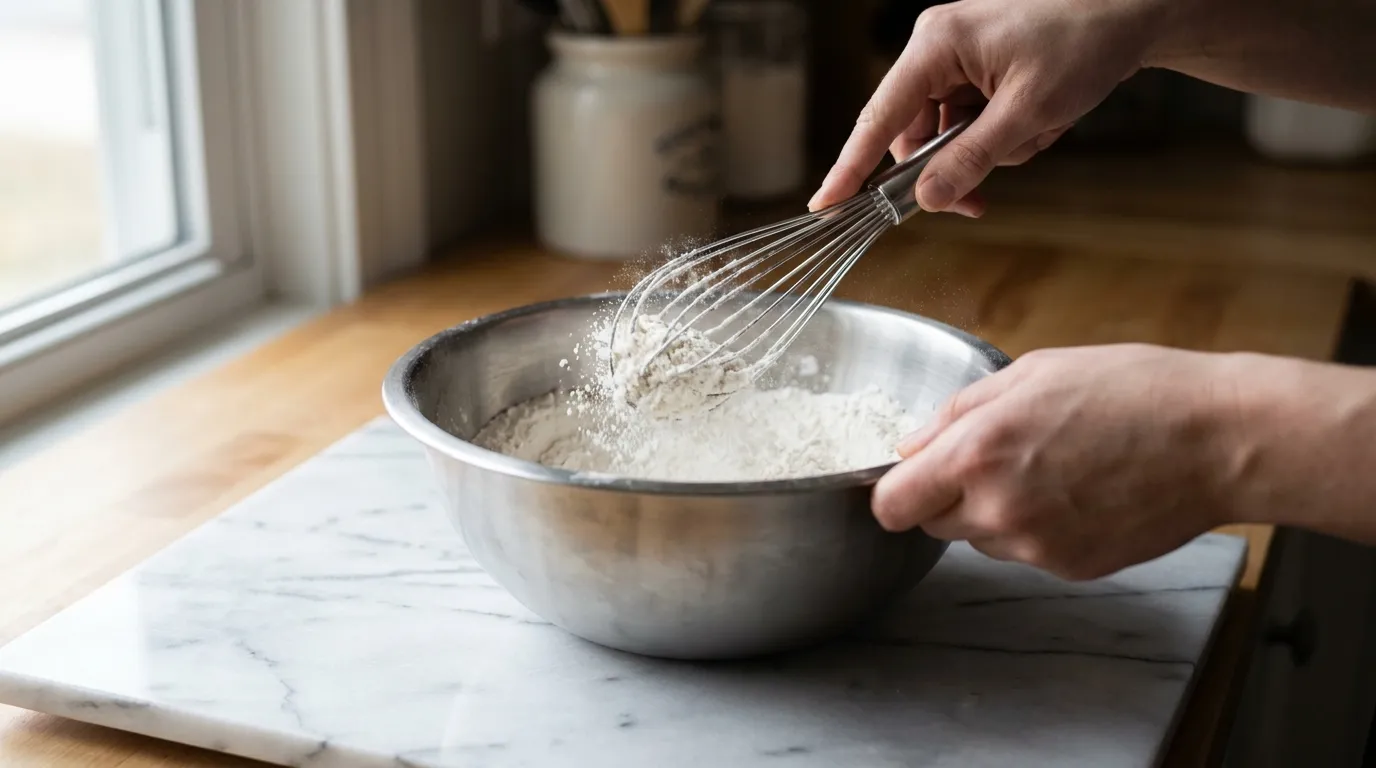
In a medium bowl whisk together the flour, baking powder, baking soda, and salt.
- 3
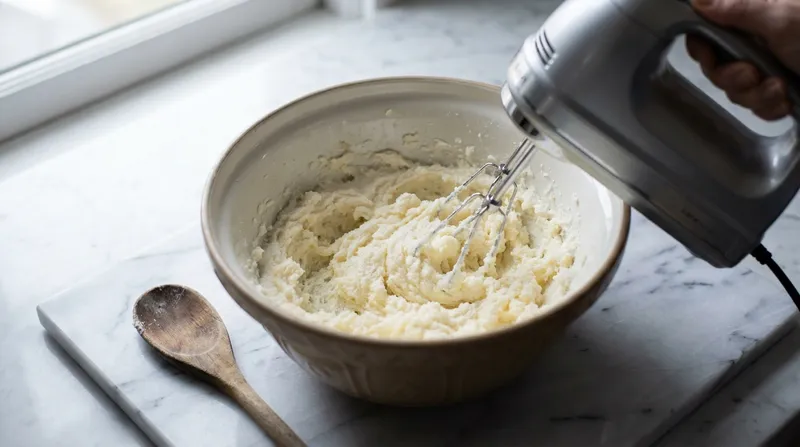
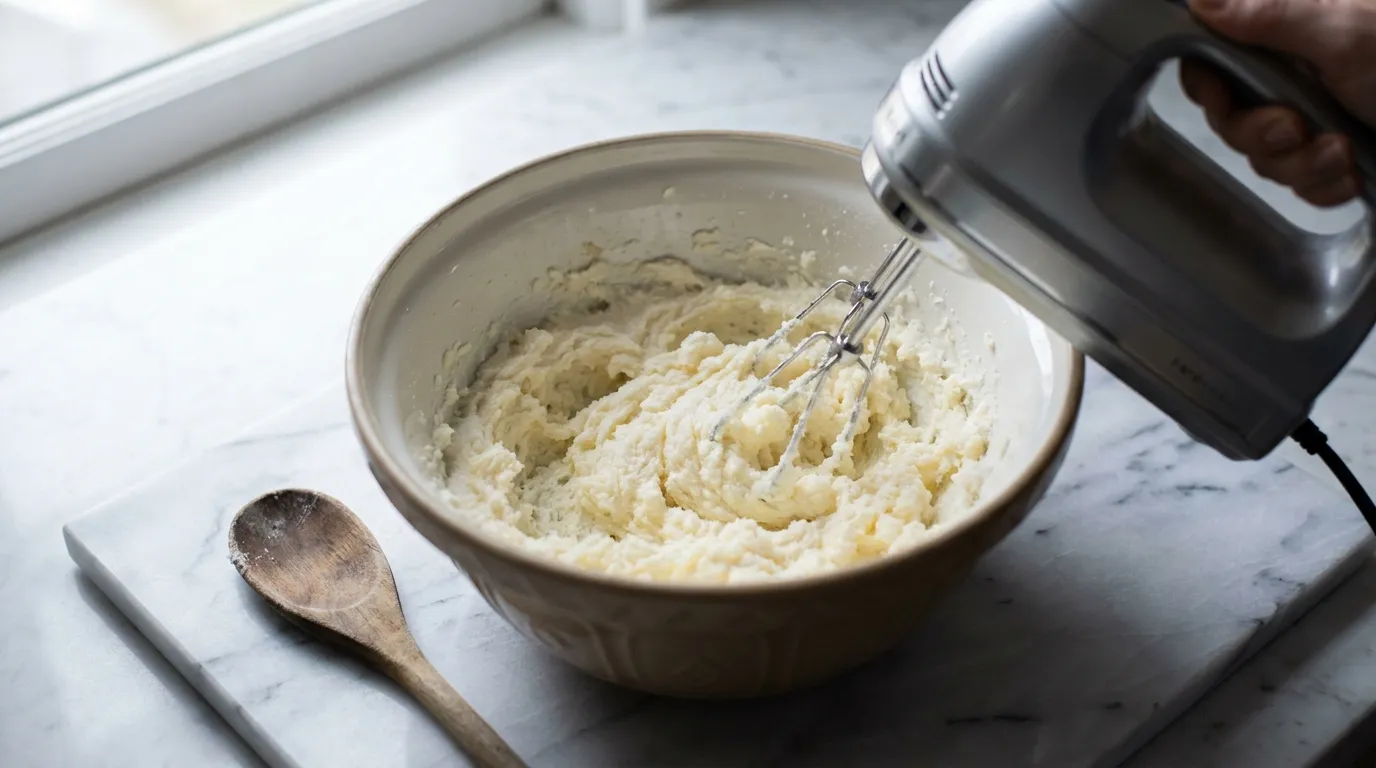
In a large bowl cream the softened butter and granulated sugar until light and fluffy, about 3 minutes.
- 4
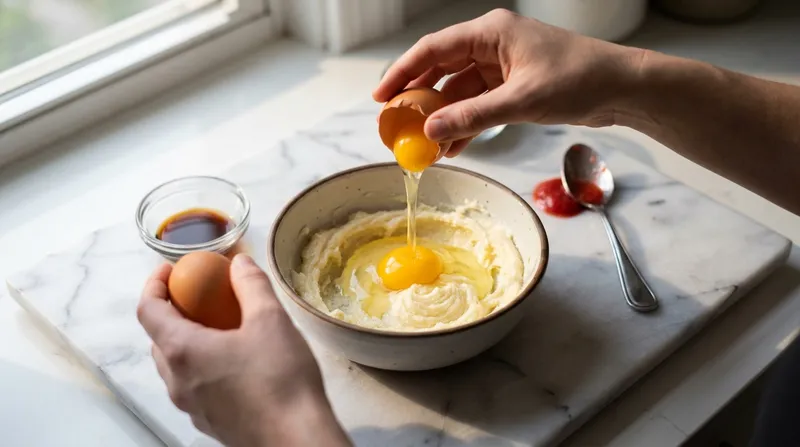
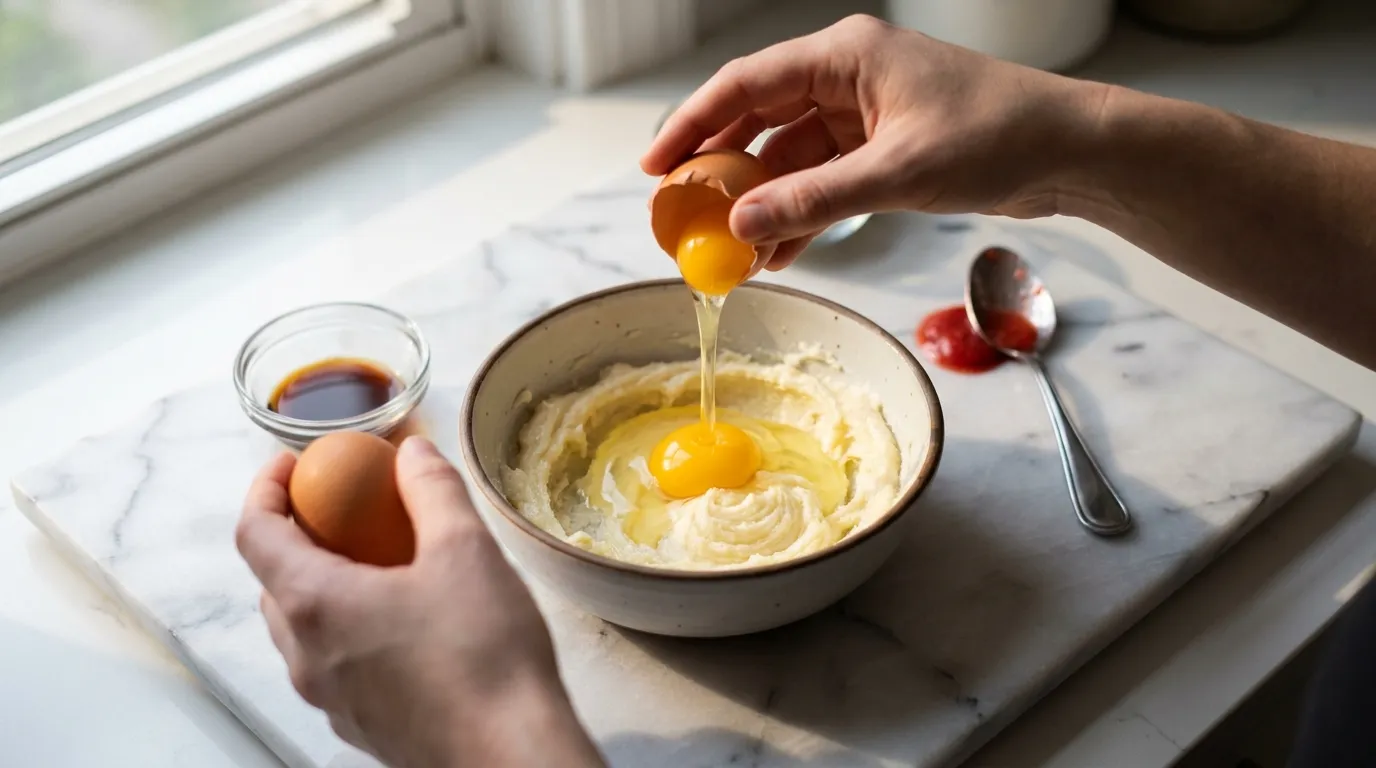
Add the eggs one at a time, beating 30 seconds after each, then stir in the vanilla extract and strawberry puree.
- 5
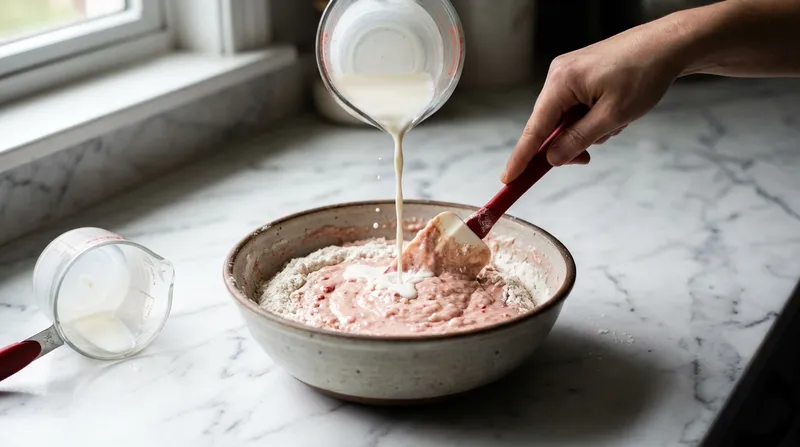
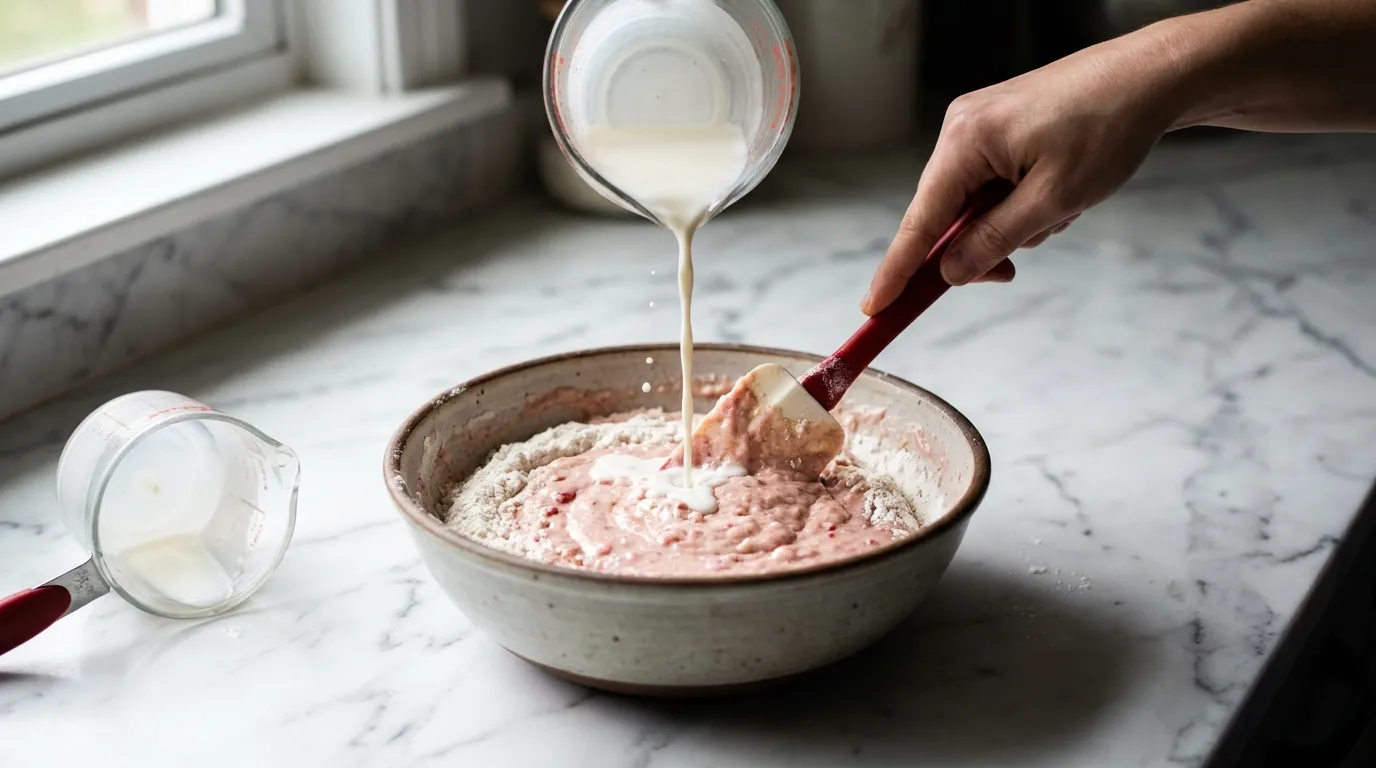
Gradually add the dry ingredients alternately with the milk, beginning and ending with the dry mixture, mixing just until combined (about 1 minute).
- 6
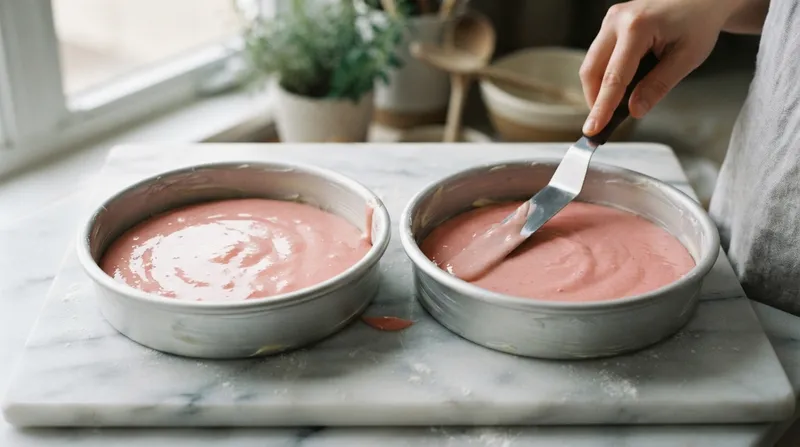
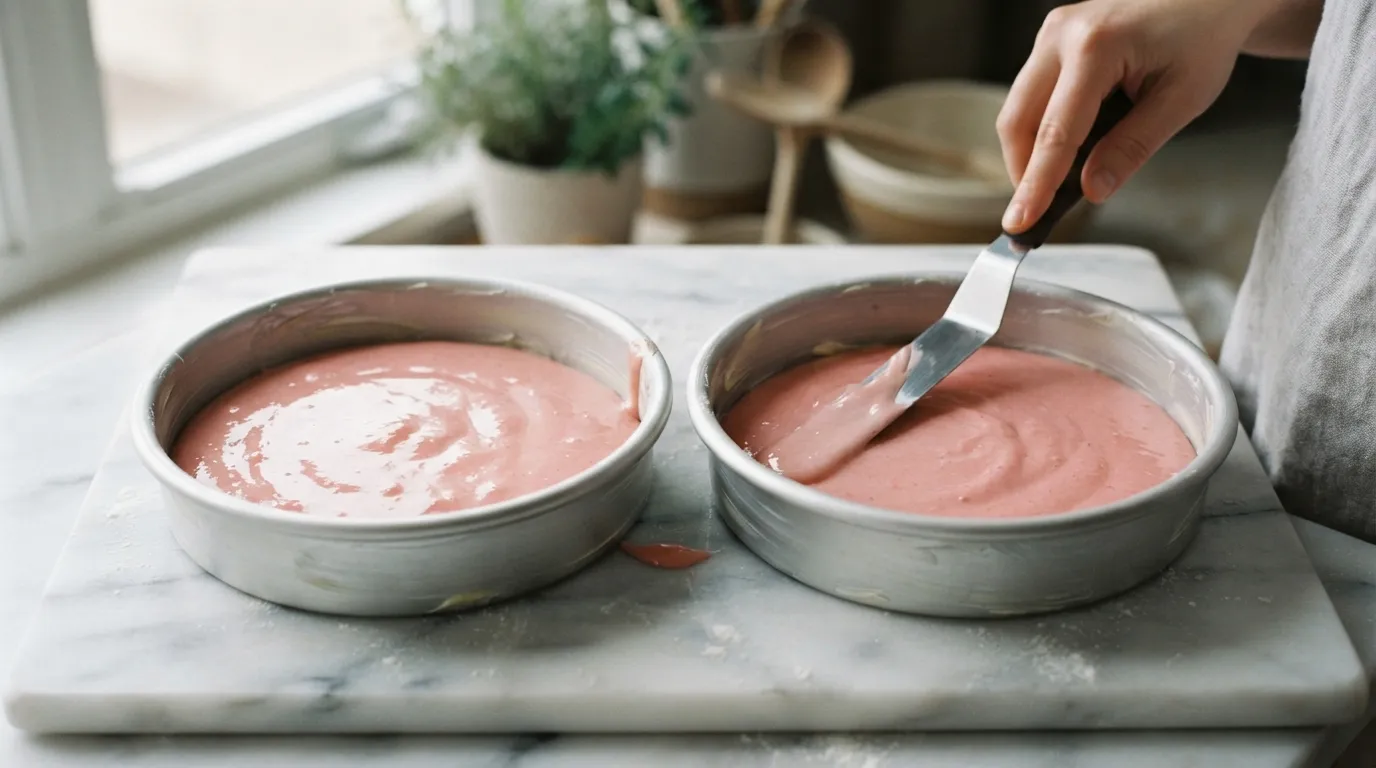
Divide the batter evenly between the prepared pans and smooth the tops with a spatula.
- 7
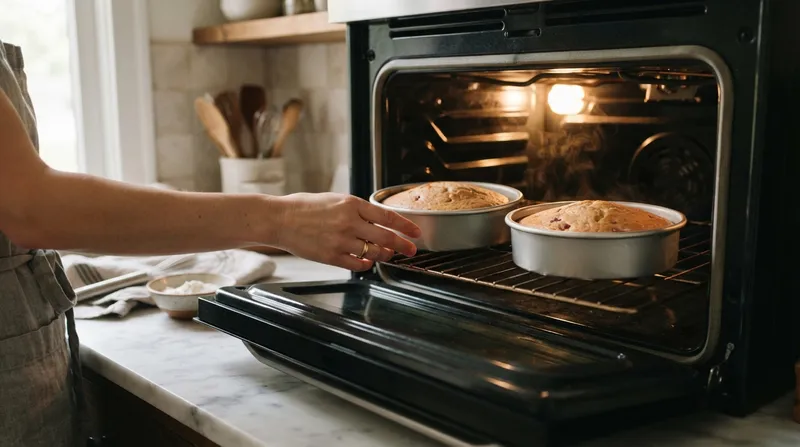
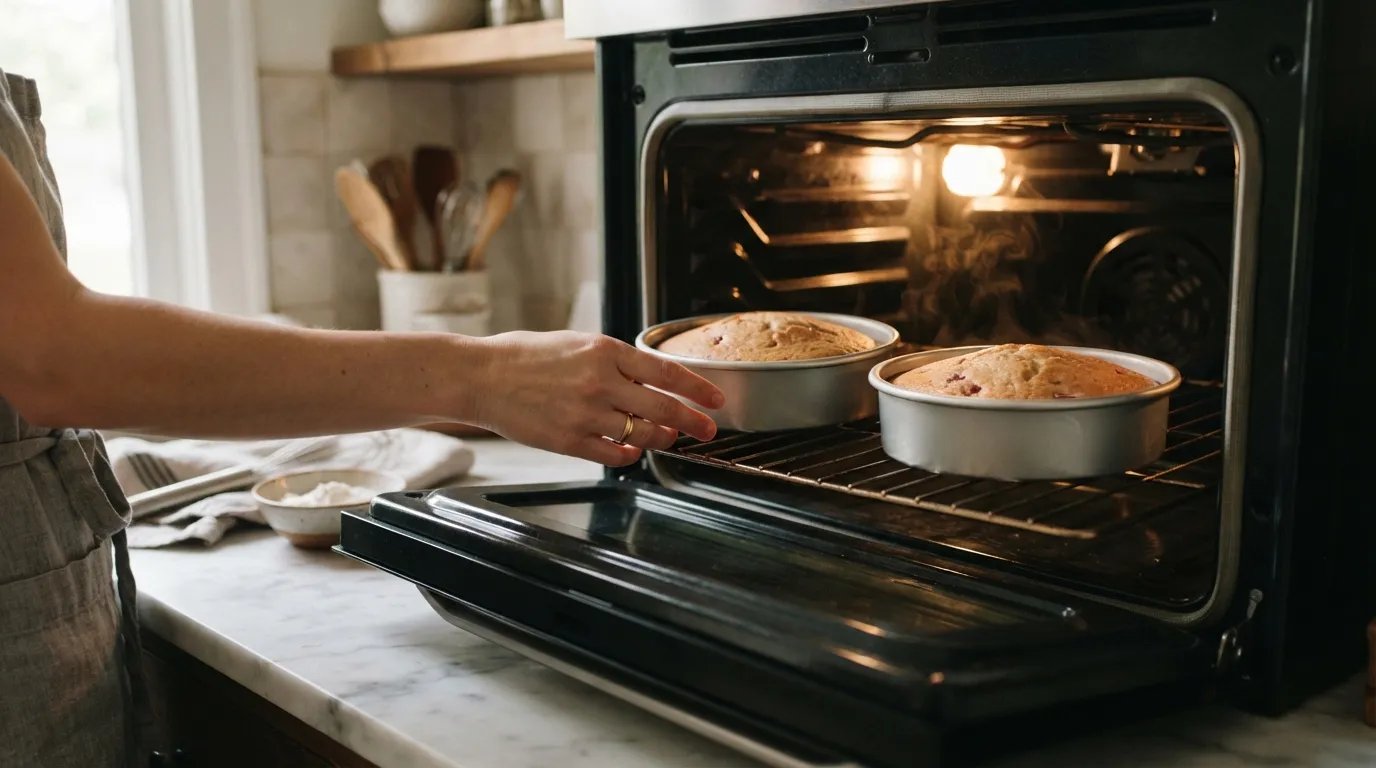
Bake at 175 °C for 25 minutes, or until a toothpick inserted in the center comes out clean.
- 8
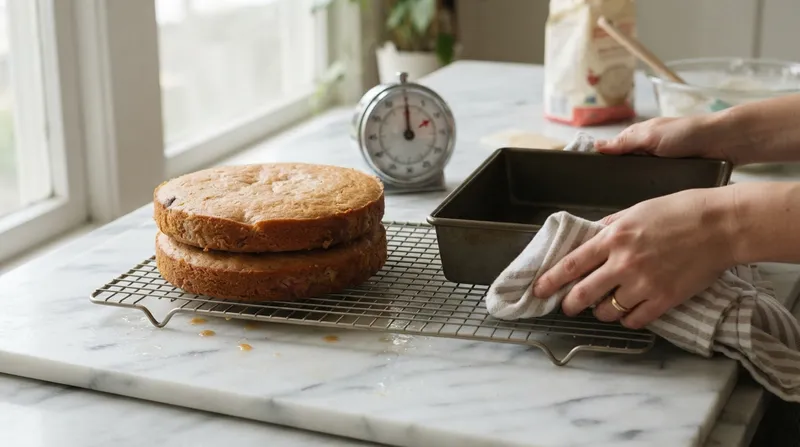
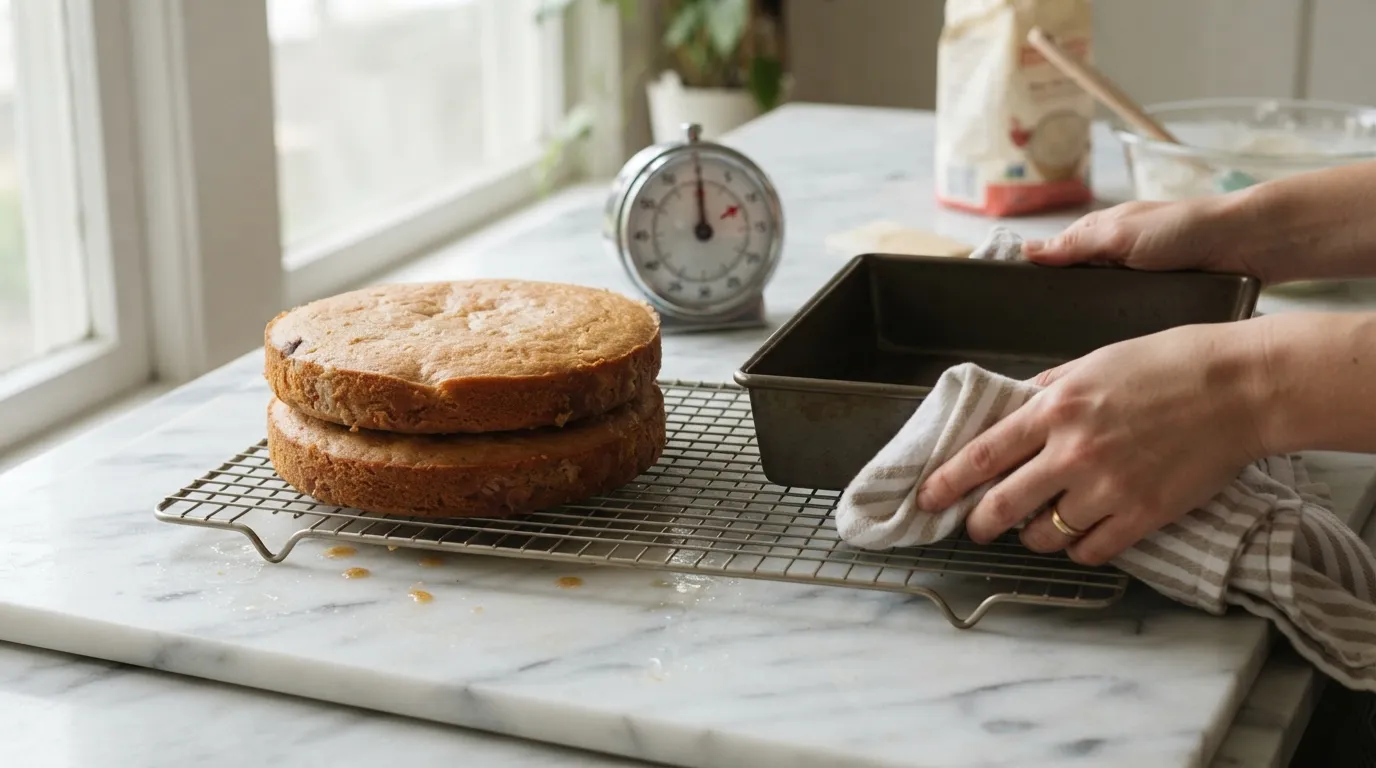
Cool the cakes in the pans for 10 minutes, then turn onto a wire rack to cool completely, about 20 minutes.
- 9
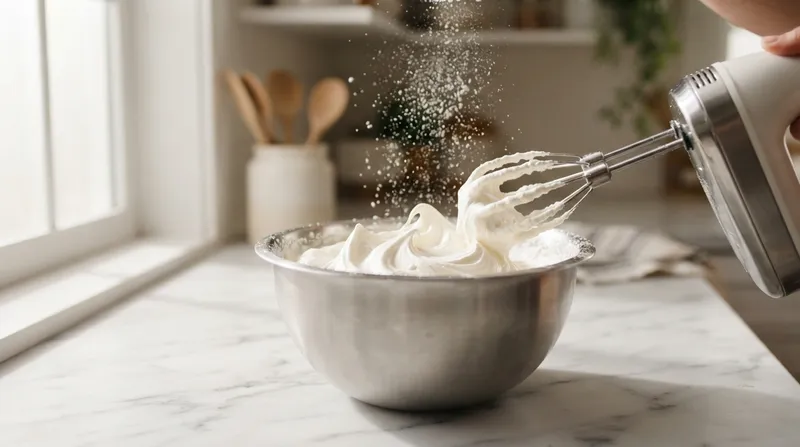
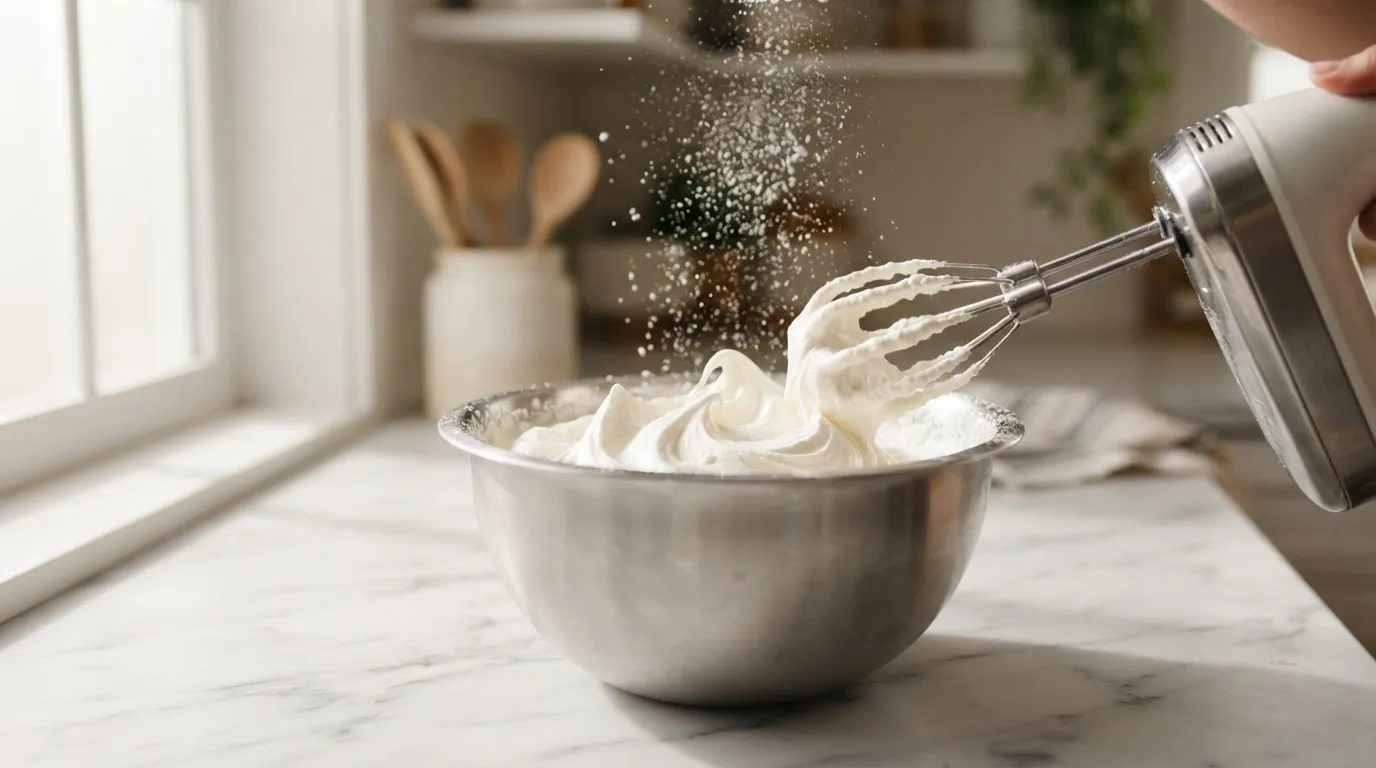
While the cakes cool, chill a mixing bowl and beaters, then pour in the heavy cream, add powdered sugar and vanilla, and whip on high speed for 2–3 minutes until stiff peaks form.
- 10
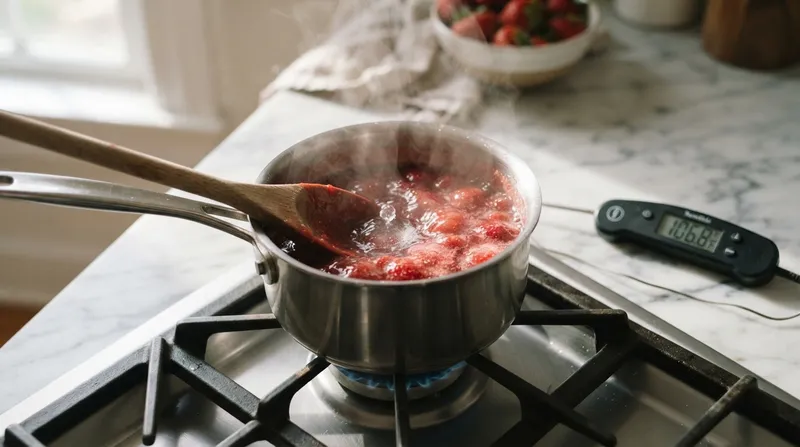
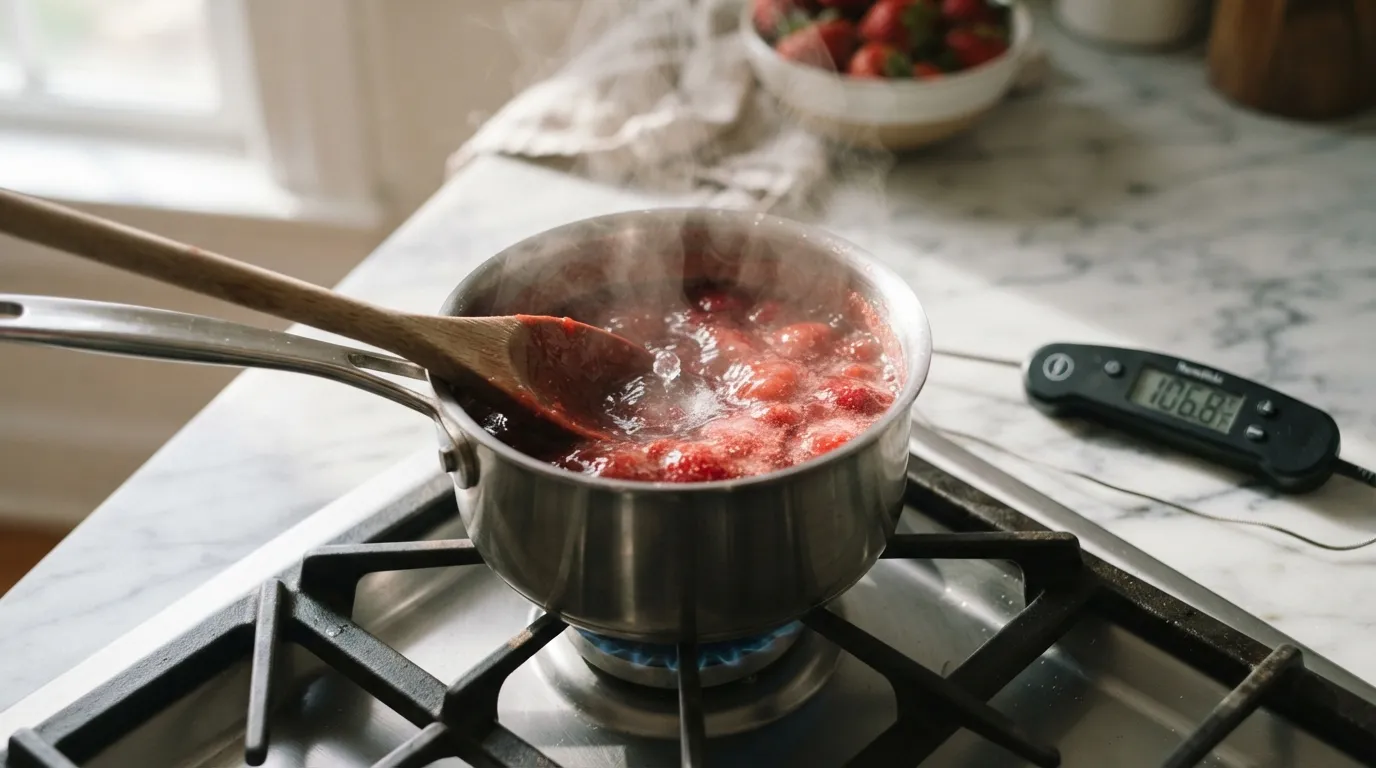
Warm the strawberry jam in a small saucepan for about 10 seconds, stir in water if needed to thin, then let cool to room temperature.
- 11
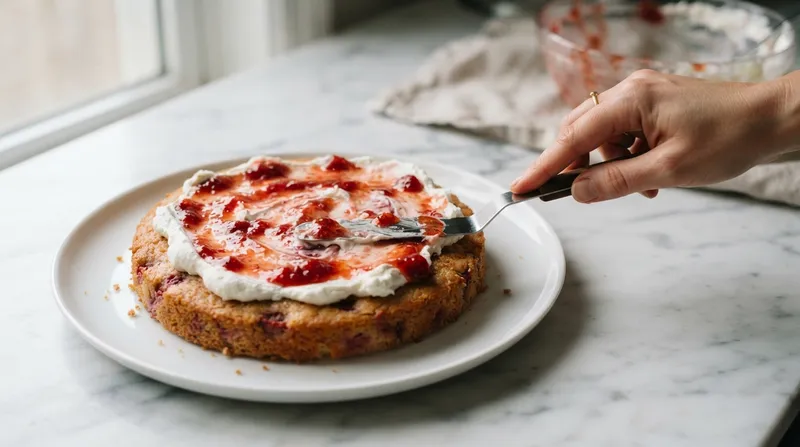
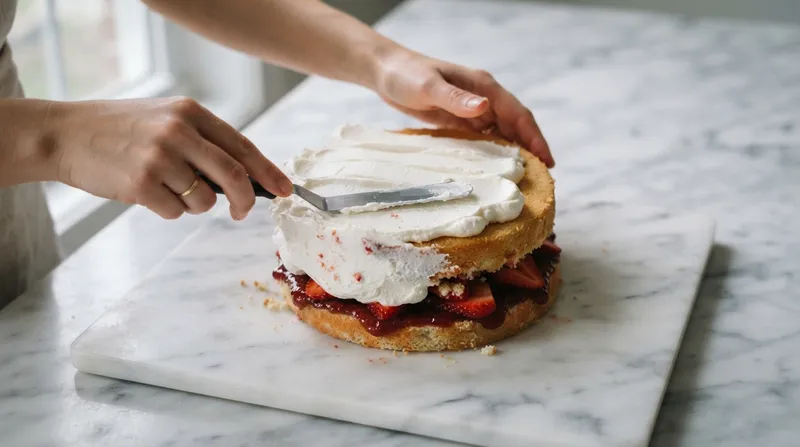
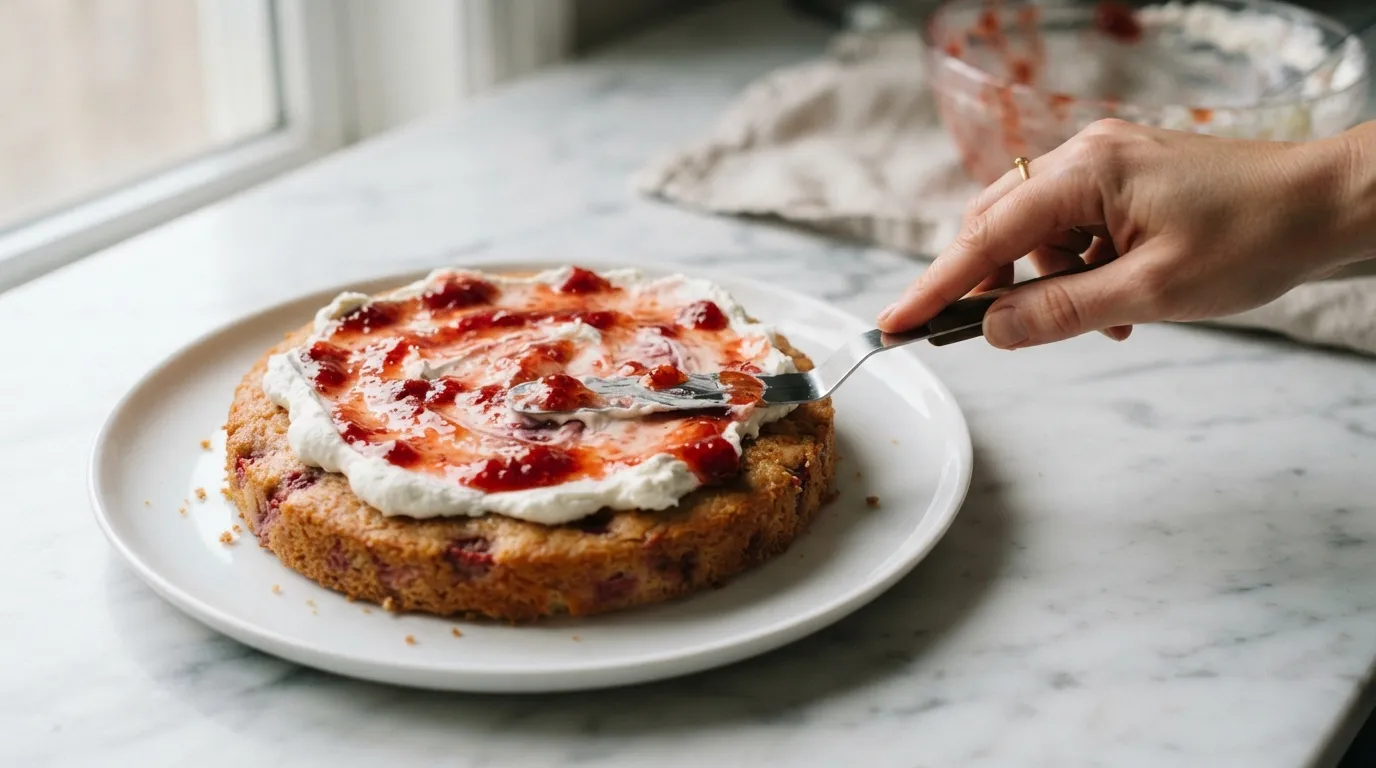
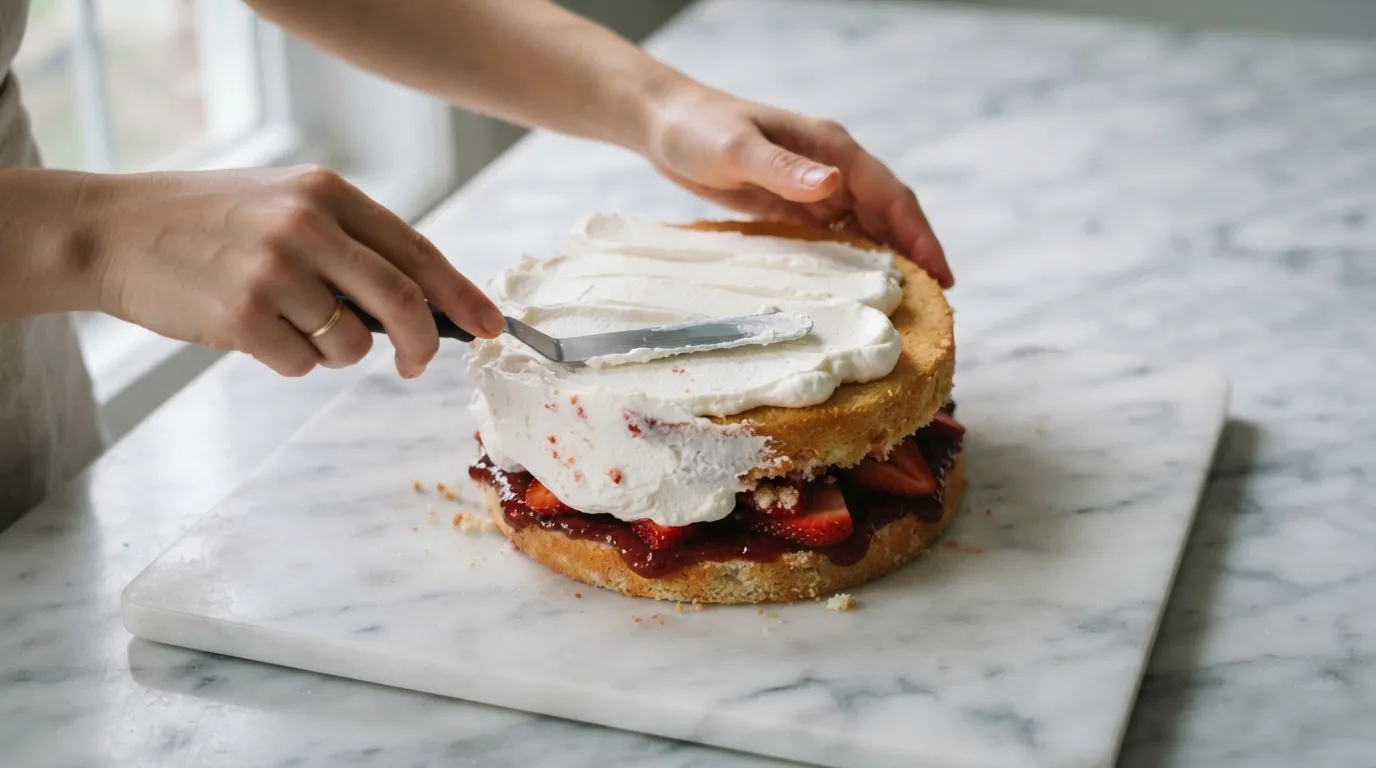
Place one cooled cake layer on a serving plate, spread half of the strawberry jam evenly, then spread half of the whipped‑cream frosting over the jam.
- 12
Top with the second cake layer, spread the remaining jam on top, and frost the entire cake with the remaining whipped‑cream frosting, smoothing the sides.
- 13
Fit a piping bag with a star tip and pipe small rosette shapes around the perimeter of the cake, or drop spoonfuls and smooth them into rosettes (about 1–2 minutes).
- 14
Arrange the thin strawberry slices in a concentric circle along the edge, overlapping slightly for a polished look.
- 15
Drizzle the remaining strawberry puree in a thin line across the top for a glossy finish.
- 16
Refrigerate the decorated cake for 15 minutes to set the frosting before slicing and serving.
Nutrition per serving
- 380 kcal
- Calories
- 4 g
- Protein
- 44 g
- Carbs
- 12 g
- Fat
Tips & notes
For a dairy‑free version, replace the butter with vegan margarine and the heavy cream with chilled coconut cream; whip it the same way. Fresh strawberry puree can be made by blending ripe strawberries and straining out the seeds. Keep the cake refrigerated if serving later, as the whipped‑cream frosting softens at room temperature.
Share:
Join our newsletter
New posts straight to your inbox. No spam, unsubscribe anytime.