Oreo Dirt Cake: Easy Party Dessert
A whimsical, layered chocolate pudding and Oreo treat that requires no oven and delights every guest.
- Total time
- 15 min
- Servings
- 8 Servings
- Difficulty:
- Easy
Table of contents
Honestly, when I first saw a jar of crushed Oreos next to a bowl of silky pudding, I thought, "Why not turn this into a party centerpiece?" This recipe is as simple as it sounds, and you’ll find it right alongside other easy snacks that families love.
The essence of the dish
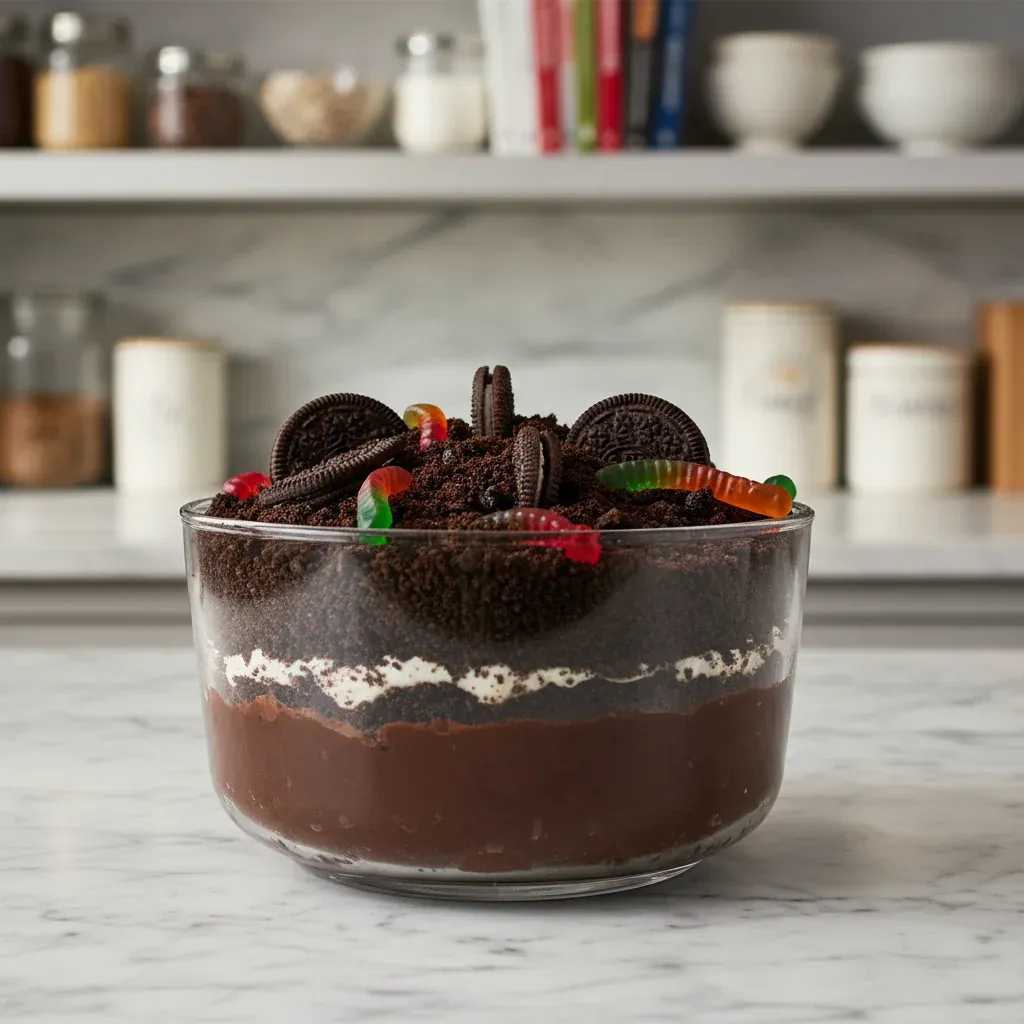
A harmony of silky chocolate pudding and crunchy Oreo crumbs that mimics a garden patch, inviting you to scoop and savor.
A fun fact or historical angle
During the 1980s, dirt cakes were a favorite at school fundraisers because they required no baking and could be made in large batches.
Flavor or sensory focus
The cool, creamy chocolate pudding contrasts with the buttery, slightly bitter Oreo crumbs, while the whipped cream adds a light, airy lift.
You Must Know
- Use cold milk for pudding; it sets faster
- Don't over‑mix the crumbs; keep some texture
- Serve chilled for best mouthfeel
When the cake rests, the pudding melds with the crumbs, creating a delicate crumbly‑smooth mouthfeel that feels almost nostalgic. It’s a quiet moment—watch how the colors settle, the scent of chocolate rising gently, and then you can share it with family.
Even if you’re making it for a single person, the process is soothing. The simple act of layering becomes a small ritual, a reminder that desserts don’t need complexity to bring joy.
The story behind it
Originating in the United States during the 1970s, the dirt cake became a staple at school picnics and birthday parties. Its playful appearance—resembling garden soil—makes it instantly appealing to children, while the creamy chocolate base satisfies adult palates. Over the decades, bakers have adapted the classic with flavored puddings and alternative cookies, but the core concept remains the same: a layered, no‑bake indulgence that looks as fun as it tastes.
Why You'll Love It
- No oven needed, perfect for hot days
- Quick assembly; ready in minutes
- Textural contrast of crunchy crumbs and silky pudding
- Versatile for birthdays, potlucks, or a quiet night
Tips for success
- Don’t over‑mix the Oreo crumbs; keep texture varied
- Use cold ingredients to keep the pudding from melting
- Add garnishes just before serving for maximum crunch
Professional secrets
- Chill the pudding bowl for faster setting
- Add a pinch of salt to the pudding to enhance chocolate flavor
- Use a light hand when drizzling chocolate to avoid soggy crumbs
Common mistakes to avoid
- Over‑mixing crumbs, losing crunch
- Using warm pudding, which melts the crumbs
- Adding garnish too early, making crumbs soggy
Substitutions
- Oreo cookies:* Gluten‑free chocolate wafer cookies. Maintain the same crumbly texture; no flavor loss.
- Whipped cream:* Coconut whipped cream. Adds a subtle coconut aroma; keep chilled.
Variations
- Spicy Version:* Add a pinch of cayenne and a drizzle of chocolate chili sauce for a subtle kick.
- Mediterranean Style:* Swap Oreos for crushed honey‑graham crackers and add a splash of orange zest.
Storage
Store covered in the refrigerator for up to 2 days; keep garnish separate until serving.
Make ahead
You can prepare the pudding and crush the Oreos up to a day ahead; keep them separate and combine just before serving.
Leftovers
Refrigerate leftovers in an airtight container; add fresh crumbs before serving to restore texture.
Serving ideas
- Serve in individual parfait glasses for a elegant look
- Top each portion with an extra Oreo half for visual appeal
- Pair with a scoop of vanilla ice cream for extra indulgence
- Dust with cocoa powder just before serving for aroma
Allergy information
Contains gluten, dairy, and soy.
Oreo Dirt Cake: Easy Party Dessert
A whimsical, layered chocolate pudding and Oreo treat that requires no oven and delights every guest.
- Prep time
- 15 min
- Total time
- 15 min
- Difficulty
- Easy
- Cuisine
- American
- Course
- Dessert
Ingredients
Base Layer
Crust & Topping
Instructions
- 1
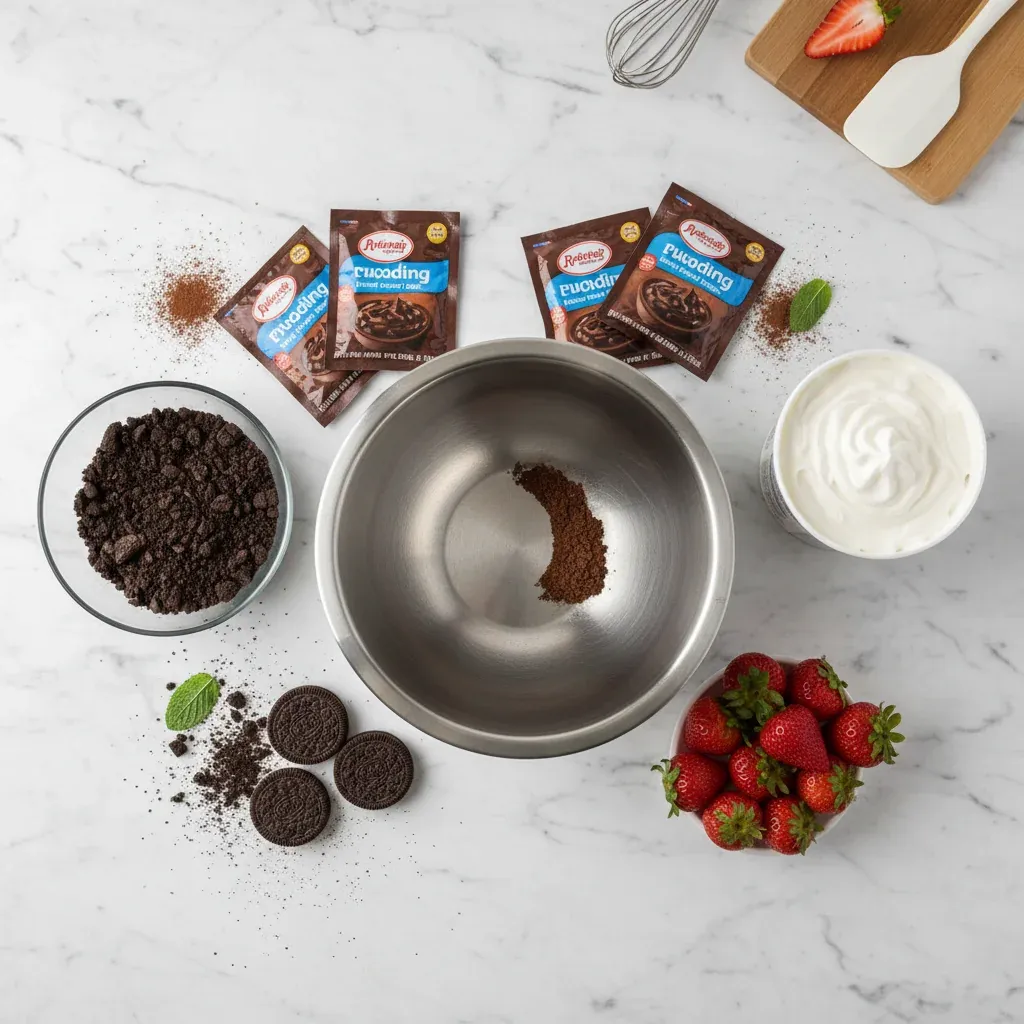
Prepare the chocolate pudding according to package instructions, using cold milk; let it set for a few minutes.
- 2
While the pudding thickens, place Oreos in a zip‑top bag and crush them gently with a rolling pin, leaving some larger pieces.
- 3
In a large serving dish, spread half of the crushed Oreos as the bottom layer.
- 4
Layer the chocolate pudding over the Oreo crust, smoothing the top with a spatula.
- 5
Sprinkle the remaining Oreo crumbs over the pudding, pressing lightly so they adhere.
- 6
Top with whipped cream, drizzle melted chocolate, and garnish with chocolate shavings, whole Oreo halves, and optional sprinkles.
- 7
Refrigerate for 10‑15 minutes if desired, then serve chilled.
Nutrition per serving
- 420 kcal
- Calories
- 5 g
- Protein
- 48 g
- Carbs
- 22 g
- Fat
Tips & notes
- For a richer flavor, use dark chocolate pudding mix. - If the pudding is too runny, let it sit a little longer before layering. - Feel free to add a layer of caramel sauce for extra sweetness.
Frequently asked questions
Can I make this ahead of time?
Yes, assemble up to 4 hours ahead and keep refrigerated; add the final garnish just before serving.
What if I don’t have instant pudding?
You can use a homemade chocolate custard; just ensure it’s thick enough to hold layers.
Is there a gluten‑free option?
Swap regular Oreos for a certified gluten‑free chocolate cookie.
Can I add fruit?
Fresh berries work well, especially strawberries for a pop of color and acidity.
How many servings does this make?
It yields about 8 generous servings in a 9‑inch dish.
What’s the best way to crush the Oreos?
Place them in a zip‑top bag and pulse gently with a rolling pin, leaving some larger chunks.
Tags:
Share:
Join our newsletter
New posts straight to your inbox. No spam, unsubscribe anytime.