No Bake Mini Berry Swirl Cheesecakes
Creamy, effortless mini cheesecakes with a fresh berry swirl—no oven needed.
- Total time
- 15 min
- Servings
- 12 Servings
- Difficulty:
- Easy
Table of contents
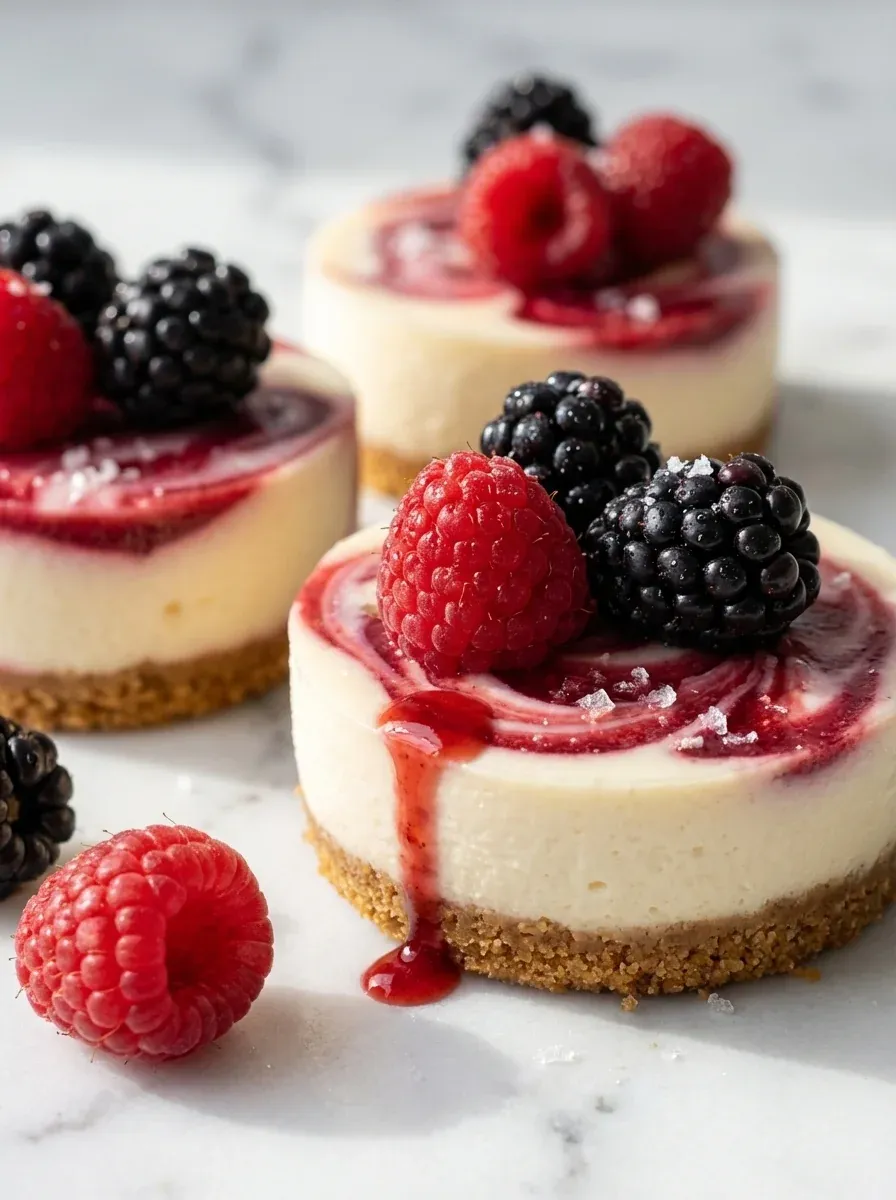
Honestly, when I first tried a no‑bake cheesecake, I was skeptical. The smooth, buttery base and the bright berry swirl felt like a little celebration in each finger‑sized cup. So, I gathered a few simple ingredients, let them chill, and the result was a quiet moment of joy that I love to share.
If you’re looking for a quick, crowd‑pleasing dessert, this recipe is exactly what you need. It’s also a gentle way to practice layering flavors without heating a single pan.
The essence of the dish
A creamy, tangy base cradles a ribbon of sweet‑tart berries, all nestled in a buttery crumb crust that offers a subtle crunch.
A fun fact or historical angle
The no‑bake cheesecake rose to fame during the 1930s, when home cooks prized dishes that could be prepared without heating, conserving both fuel and time.
Flavor or sensory focus
First, you’ll taste the cool, velvety cheese, then the burst of fresh berry acidity, and finally the gentle grain of the crust underneath.
You Must Know
- Chill the cups for firm set
- Use fresh berries for vivid color
- Do not over‑mix the filling
These little reminders keep the process smooth. I remember the first time I missed the chilling step— the filling stayed too soft and the crumble fell apart. A quick pause to let the mixture firm up makes all the difference, turning a simple snack into an elegant bite.
The story behind it
The concept of a no‑bake cheesecake dates back to the early 20th century, when refrigeration became common in American homes. Inspired by chilled desserts from Europe, home cooks experimented with gelatin and cream cheese to create a dessert that could be set in the refrigerator. Over time, the mini version emerged as a convenient, single‑serve option perfect for parties and tea gatherings.
Why You'll Love It
- No oven required, so it stays cool on a hot day
- Swirl of fresh berries adds a natural, vibrant flavor
- Easy to portion and serve, making entertaining a breeze
- Creamy texture that melts gently on the tongue
Tips for success
- Press crust firmly to prevent sogginess.
- Fold whipped topping gently to keep air in the filling.
- Swirl berries just before chilling for a clean marble effect.
Professional secrets
- Room temperature cream cheese integrates smoothly with whipped topping.
- A touch of lemon zest in the berries lifts the overall flavor.
- Chill the liners on a tray for an even set.
Common mistakes to avoid
- Skipping the chill step, resulting in a runny filling.
- Over‑mixing the whipped topping, which deflates the airy texture.
- Adding hot berries, which melts the crust.
Substitutions
- Cream cheese:* Neufchâtel cheese. Provides a slightly lighter texture; keep it chilled.
- Graham cracker crumbs:* Digestive biscuits. Adds a buttery flavor and works well for a British twist.
Variations
- Chocolate Berry:* Add a tablespoon of cocoa powder to the crust and swirl dark chocolate ganache with the berries.
- Citrus Burst:* Mix orange zest into the filling and use mandarin segments for the swirl.
Storage
Store in an airtight container in the refrigerator for up to three days; keep the lids on to maintain moisture.
Make ahead
The crust can be prepared a day ahead and stored in the fridge; assemble the filling and swirl just before serving for maximum freshness.
Leftovers
Keep leftovers chilled; enjoy within three days for the best texture and flavor.
Serving ideas
- Arrange the mini cheesecakes on a decorative platter with fresh mint leaves.
- Serve alongside a small glass of chilled sparkling water with a slice of lemon.
- Add a dusting of powdered sugar just before serving for an extra touch of elegance.
Allergy information
Contains dairy, gluten, and honey.
No Bake Mini Berry Swirl Cheesecakes
Creamy, effortless mini cheesecakes with a fresh berry swirl—no oven needed.
- Prep time
- 15 min
- Total time
- 15 min
- Difficulty
- Easy
- Cuisine
- American
- Course
- Dessert
Ingredients
Crust
Filling
Berry Swirl
Instructions
- 1
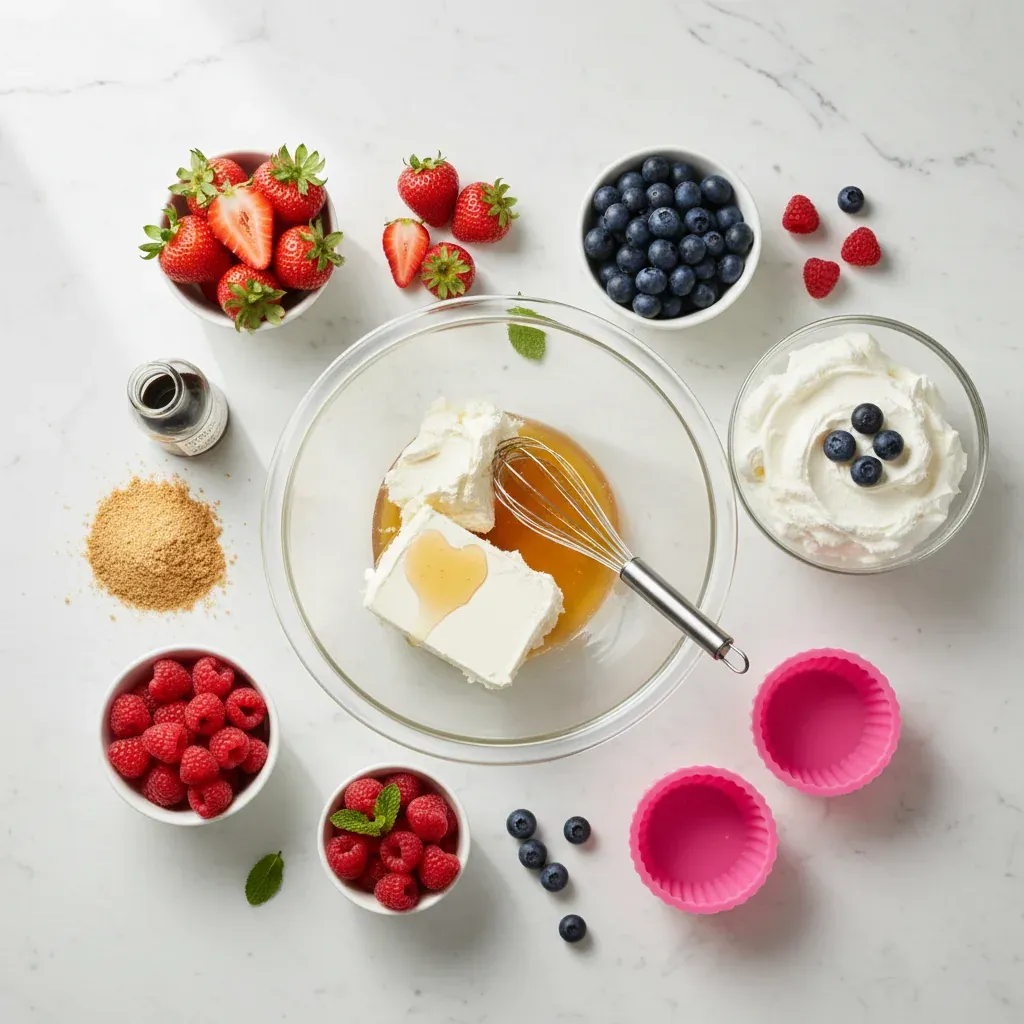
Combine graham cracker crumbs, melted butter, and honey; press the mixture firmly into the bottom of silicone muffin liners.
- 2
In a bowl, beat the softened cream cheese until smooth, then fold in lemon juice, honey, and the whipped topping until just combined.
- 3
In a small saucepan, gently warm the berries with honey and lemon zest, then let cool slightly.
- 4
Spoon the cream cheese mixture over the crusts, then swirl the berry puree through using a knife or skewer to create ribbons.
- 5
Refrigerate for at least 2 hours, or until set. Serve chilled.
Nutrition per serving
- 180 kcal
- Calories
- 3 g
- Protein
- 22 g
- Carbs
- 9 g
- Fat
Tips & notes
- The crust should be pressed tightly; a flat bottom helps the mini cups keep their shape. - Allow the berry mixture to cool before swirling to avoid melting the cream filling. - For a glossy finish, brush a thin layer of honey over the berries before chilling.
Frequently asked questions
Can I use a different crust?
Yes, you can substitute almond flour or crushed pretzels for a gluten‑free or salty twist.
How long can they be stored?
Keep them refrigerated in an airtight container for up to 3 days; the berries stay fresh and the texture remains creamy.
Is it possible to make them dairy‑free?
Swap cream cheese for a plant‑based cream cheese and use coconut‑based whipped topping.
What berries work best?
A mix of strawberries, blueberries, and raspberries gives color contrast and layered flavor.
Can I add a chocolate drizzle?
A light drizzle of melted dark chocolate adds richness without overpowering the berry brightness.
Do I need a springform pan?
No, silicone muffin liners work perfectly and make removal easy.
Share:
Join our newsletter
New posts straight to your inbox. No spam, unsubscribe anytime.